Episode 5. Chat

Author: Łukasz Strumiński
Created: 2017-10-20. Updated: 2022-11-30.
Table of contents
In this section, you will learn about our chat and its most important features.
Chat is a very useful and popular tool used on websites. It allows us to quickly inquire about the offered products and services when the customer is just browsing our site. Thanks to chat we can provide customers with quick assistance.
Chat is, of course, active during office hours, and after hours or when the customer cannot wait for an answer, the message will be registered as a ticket. This gives you the assurance that it will not be lost.
Did you know...💡
Our chat allows you to set, among other things, a welcome message, adjust the hours of operation, add another consultant to the conversation, and the ability for the customer to rate the conversations.
The first step in chat configuration is to create a chat queue.
1. To do this, go to the Administration tab and in the Click2Contact section, select Queues.

2. A window with a list of queues will appear on the screen. If you want to add a new queue, click the  button.

3. Create a new queue:
- enter its name
- select working hours (you can customize it according to your company's needs)
- set a welcome message (if you need it)
- set an automatic response when the agent does not respond
- specify the subject of the chat ticket
- select the ticket queue where messages go
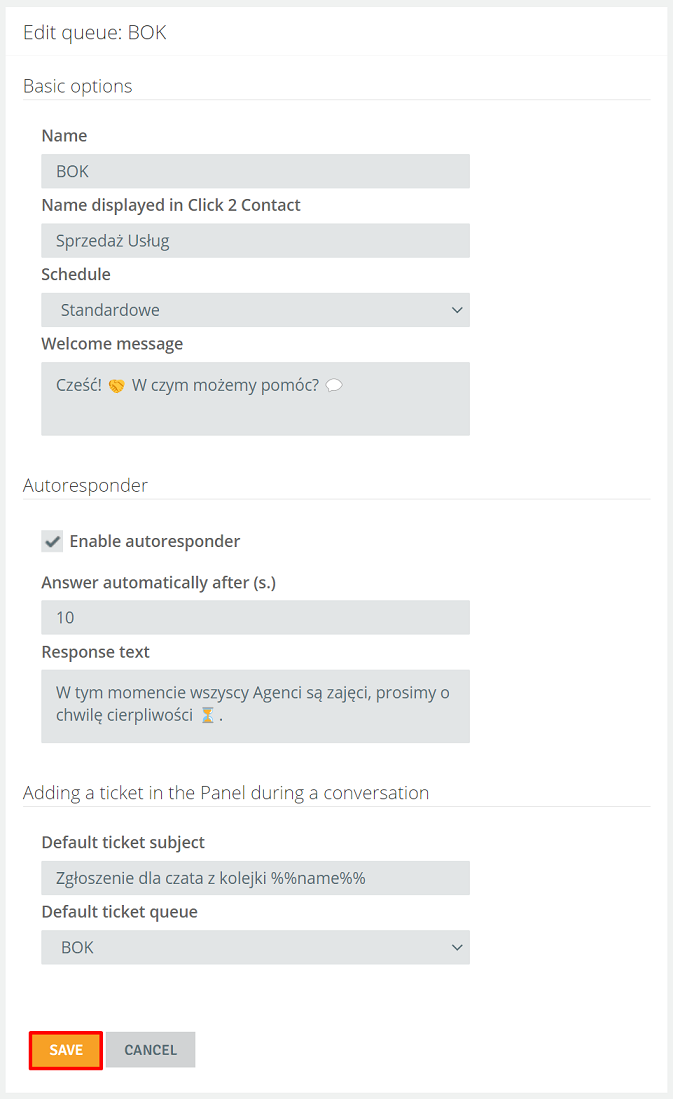
4. To approve, click  .
.
Assigning agents to a chat queue
After creating the queue, assign agents to it. If you have gone through the previous steps, you are probably already familiar with the logic of our system. You can do this in a manner analogous to that for tickets and infoline.
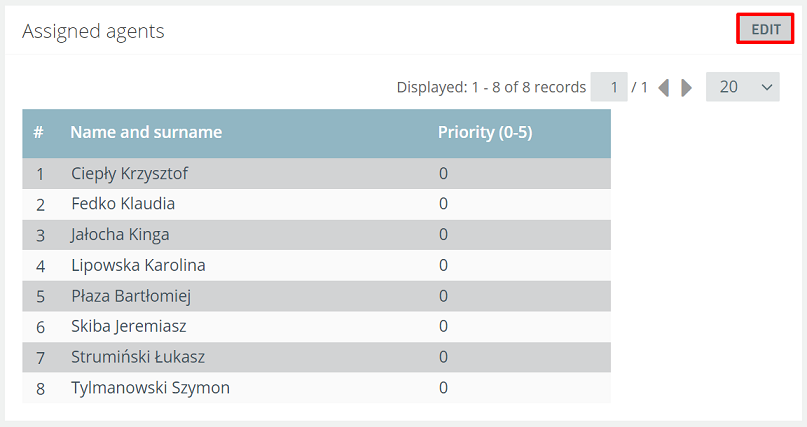
1. Go into the queue you created and under Assigned agents select  .
.
2. Assign agents by checking the appropriate check boxes.
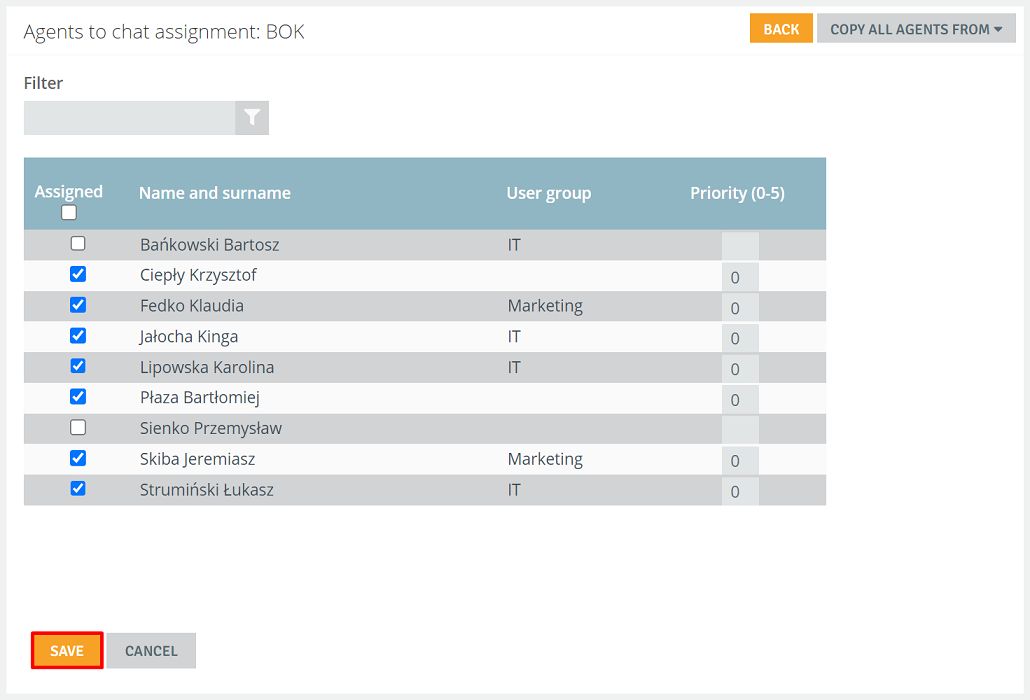
3. Confirm your changes by clicking the  button.
In order to be able to put chat on your website, you must first generate Click2Contact widget.
1. From the Administration tab, select Click2Contact → Click2Contact widget.

2. Then click  .
.

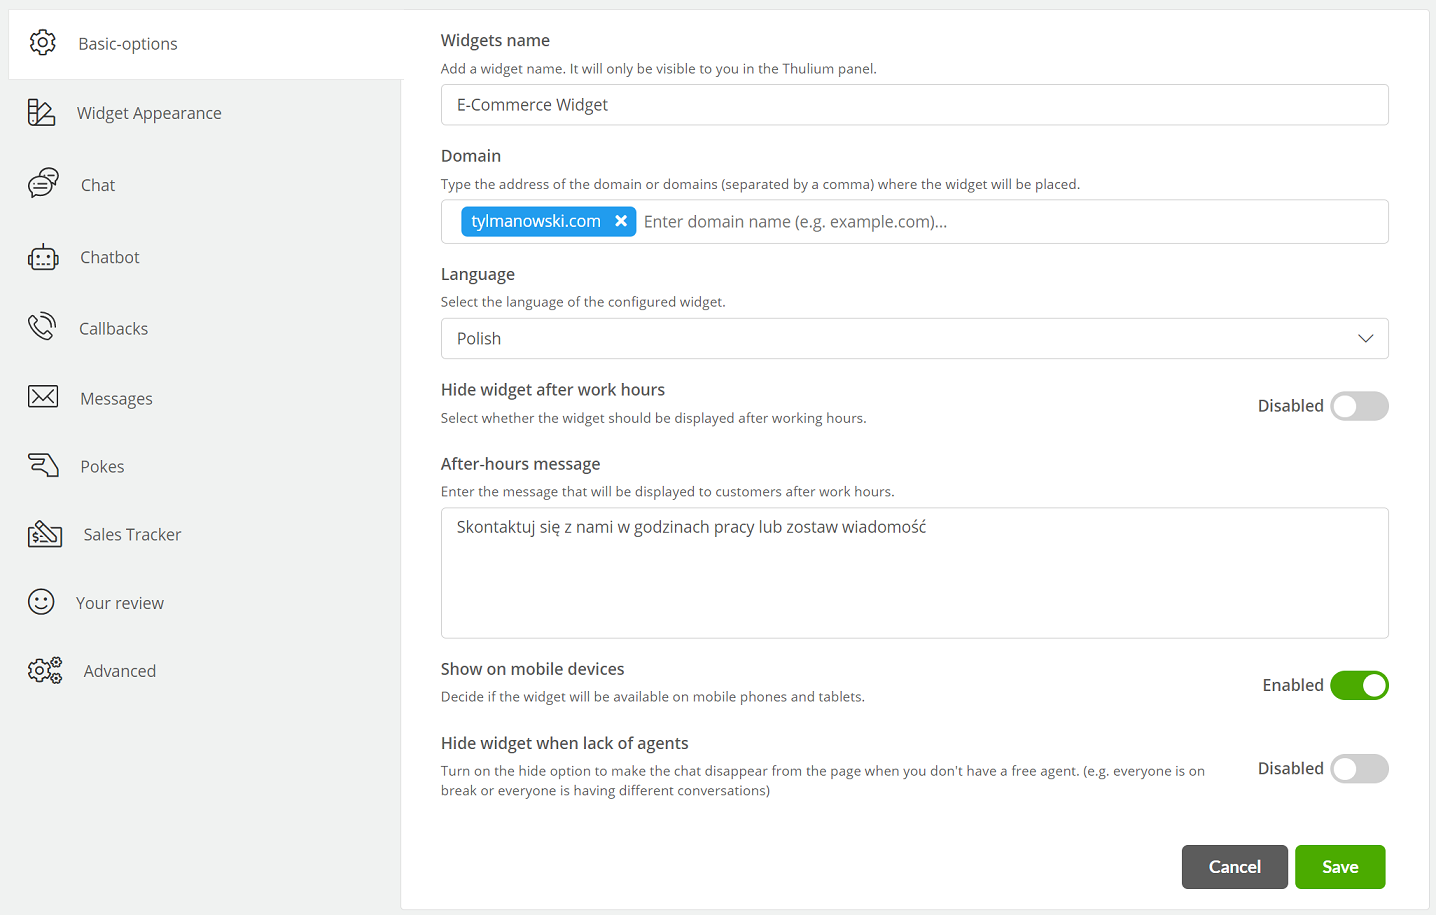
3. Enter the name of the site and select the queues that will support chat.
4. Customize the appearance and functionality to suit your needs. You can:
- change colors
- set a welcome message
- set an after-hours message
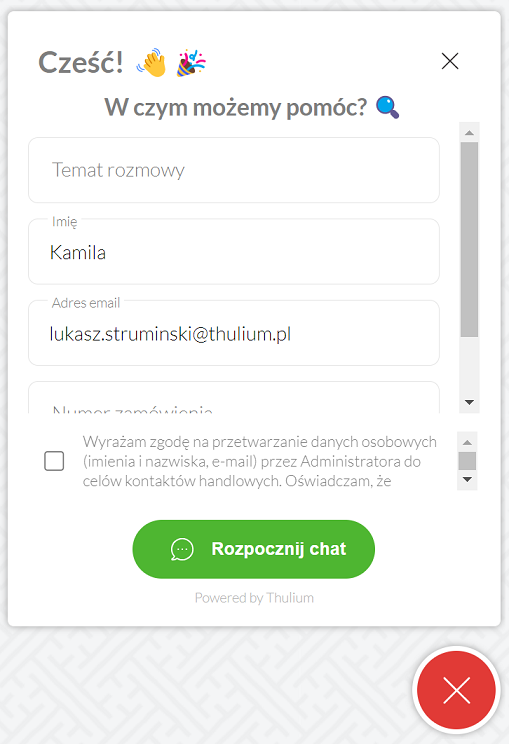
- set anonymous chat
- enable the need to collect RODO consents
- enable a message asking the customer to rate the conversation
- set widget margins (minimum 16px)
Before placing the chat widget on the site, check how it works.
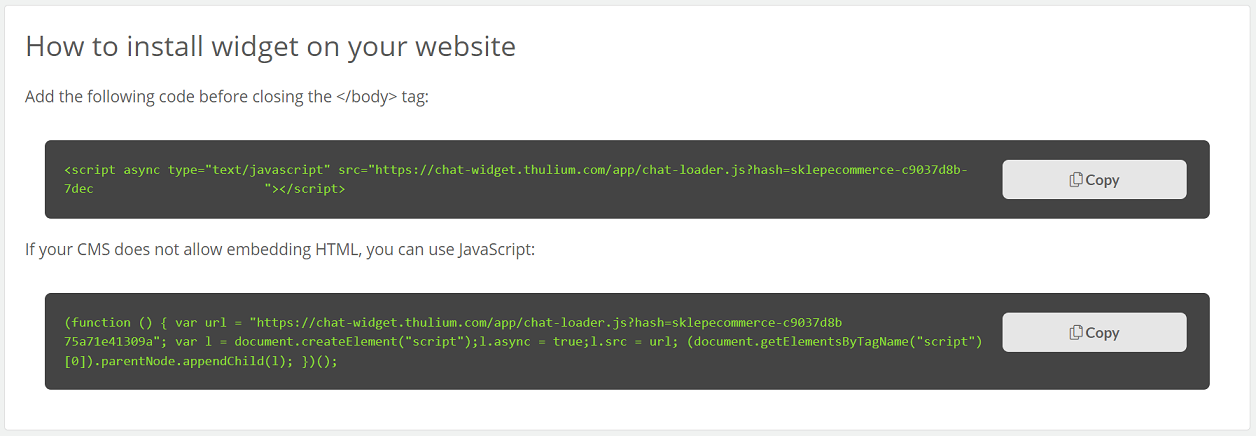
1. After setting up the widget, click  . After saving the widget, you will be shown the code you need to add to your own website.
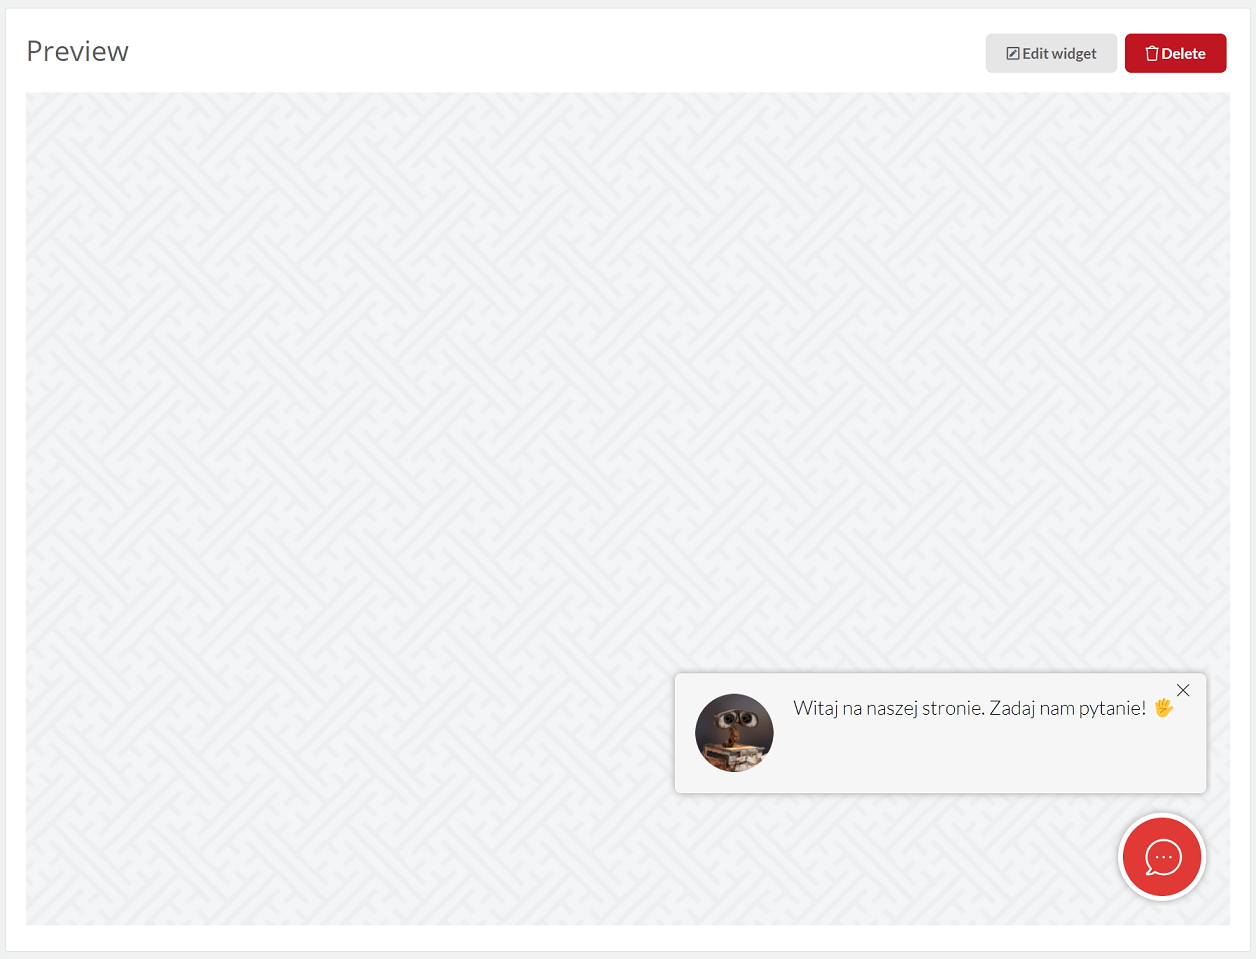
2. After saving, you can see what the created chat looks like from the client's perspective.
Next Episode 6: Campaigns

Share your opinion with us