Microsoft Azure

Author: Łukasz Strumiński
Created: 2022-12-16. Updated: 2022-12-19.
Thulium enables integration with Active Directory within Microsoft Azure to control access to the Thulium system within the Domain.
Scope of integration
- Users can log into the Thulium system using the OpenID Connect mechanism provided by Microsoft Azure,
- OpenID Connect allows the authentication of any Azure account, but once the token is received, its issuer is verified,
- The system uses OpenID through a public application registered by Thulium,
- Identification of Users in the Thulium system is based on the "User name" field in Active Directory. This field is the login of a given User, so it cannot be empty. The value of this field must be unique for each User.
Step by step
- Thulium application registration in Azure.
The Thulium application automatically registers with the customer's Azure AD directory service the first time any User from the organization logs into the Thulium system, using Azure OpenID Connect.
Important...⚠️
By automatically adding the service to Azure AD, any person in the organization could authenticate on the system. It is therefore recommended that you restrict access to the system before enabling authentication with Azure.
Configuration should proceed in the following order:
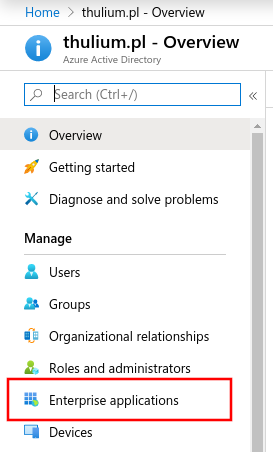
a) From the Azure Active Directory main menu, select the Enterprise applications tab:
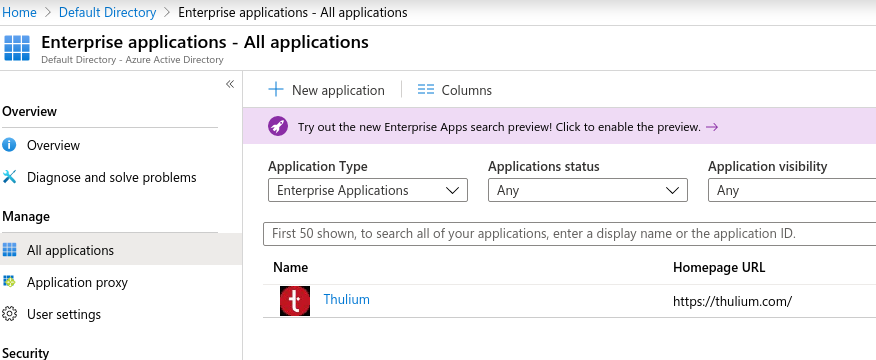
b) Thulium application should appear in the list of applications:
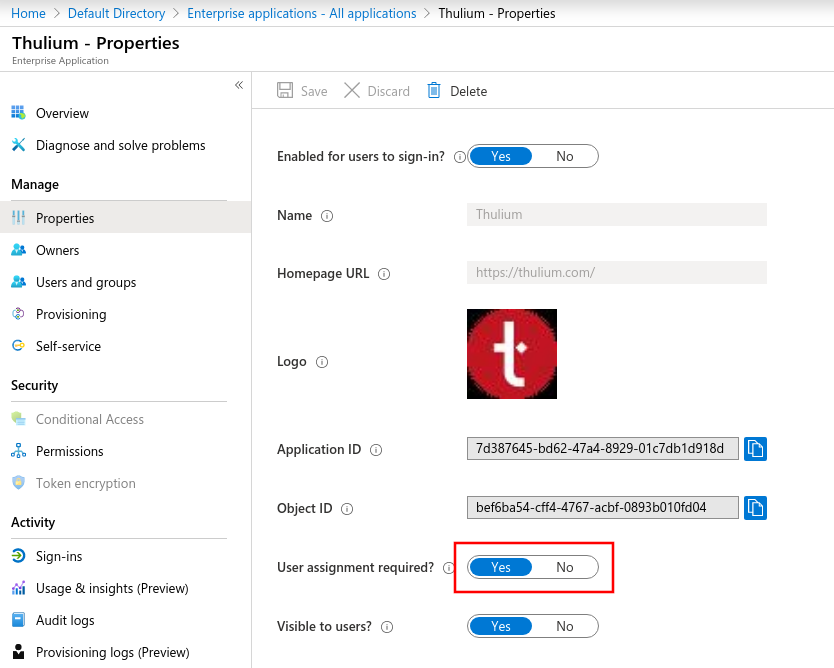
c) After going to the application's settings, enable the requirement for direct login privilege assignment:
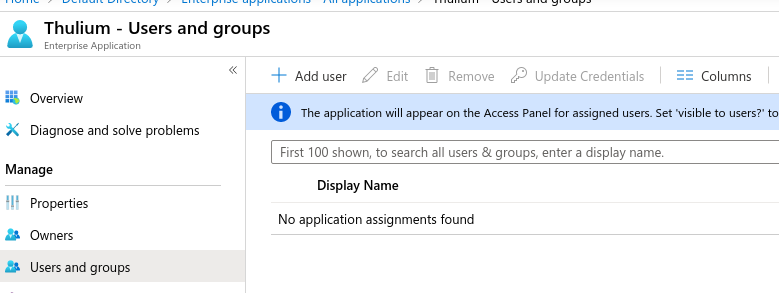
d) Next, on the Users and groups tab, add application permissions to the group whose members are to have access to the application:
- Integration with Microsoft Azure in Thulium.
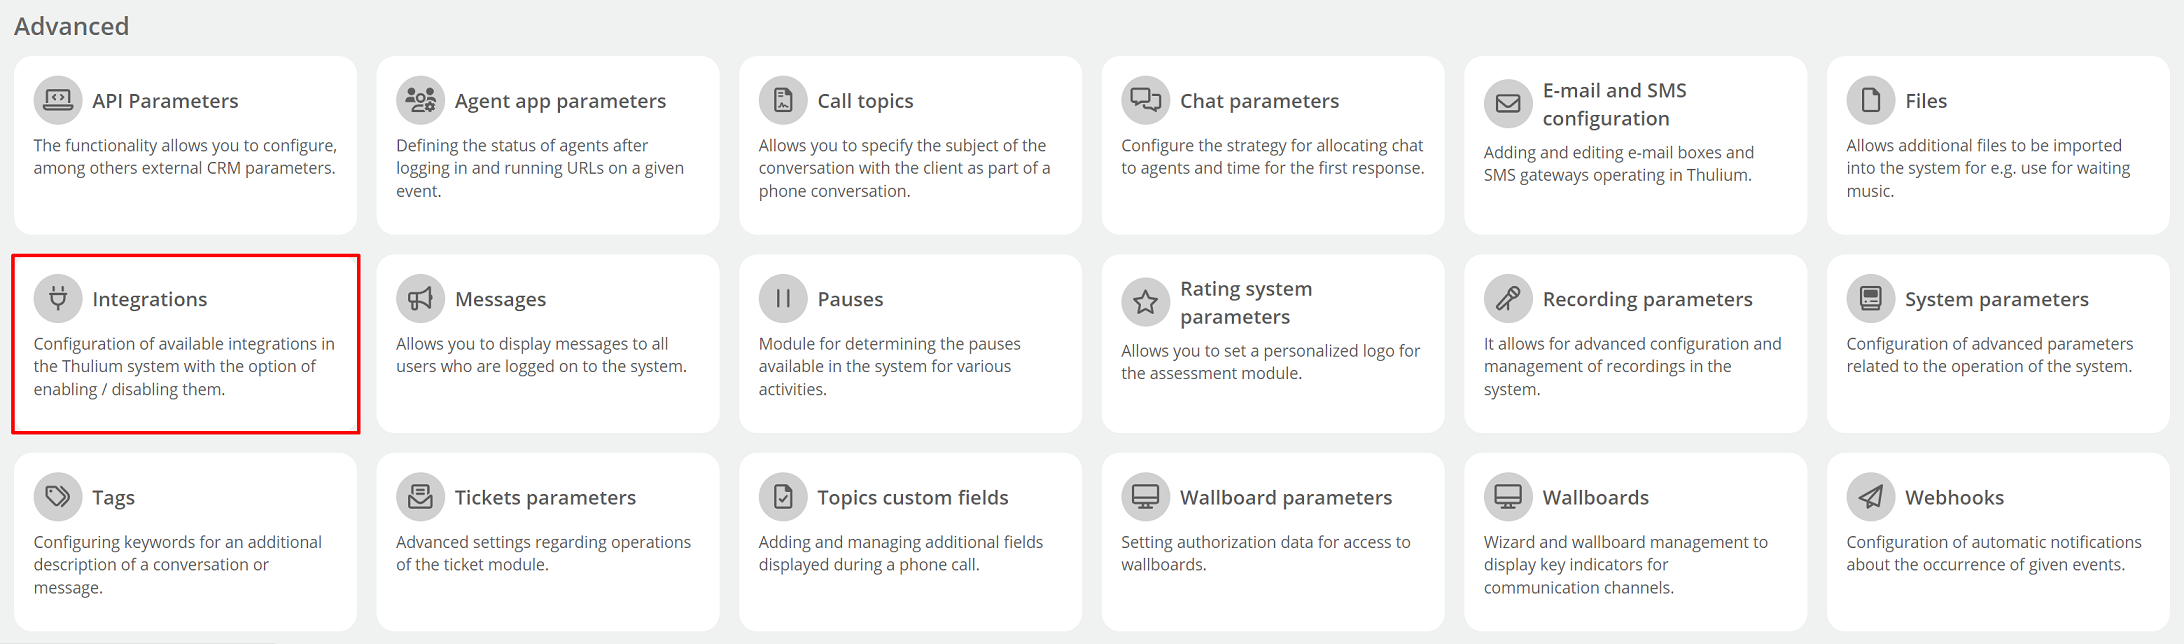
a) Authentication integration with Microsoft Azure should be launched in Administration → Advanced → Integrations from the Authentication group:

Once clicked, a screen with parameters to complete will appear:
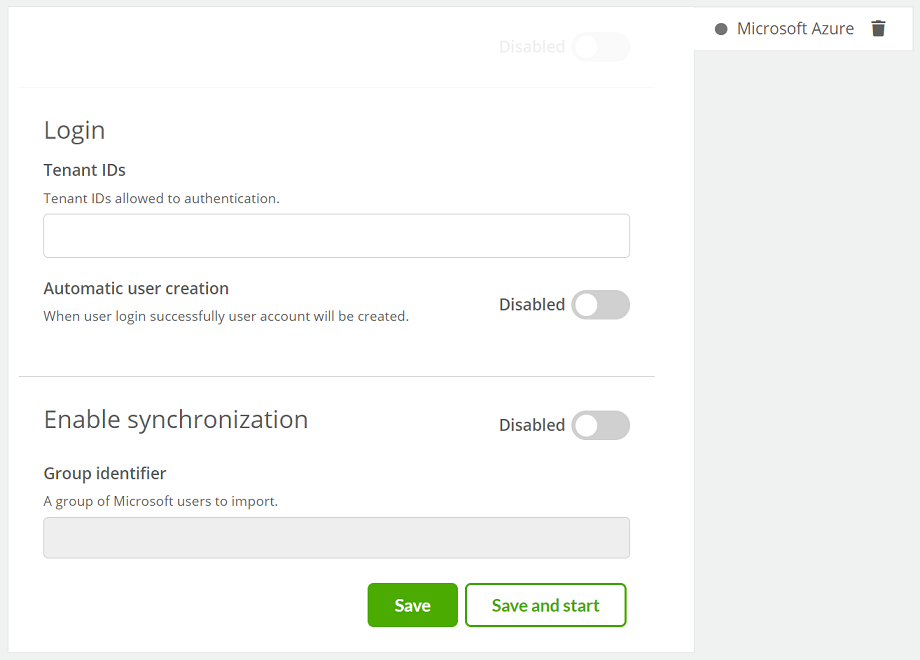
where:
- "Tenant IDs " - enter the correct Tenant ID of the trusted Active Directory service from which OpenID Connect login is allowed.
Hint...🔎
If you need to enter more than one trusted directory service, enter the IDs by confirming them with  .
.
- Automatic user creation - checking this box will allow the system to automatically create accounts for new Users who have properly authenticated with OpenID Connect, even if their accounts have not yet been created in the system.
Important...⚠️
It is recommended to enable this feature only after setting the appropriate logins (domain address) in Thulium for current Users so that when they log in, new ones are not assumed if they already exist (but with a different login).
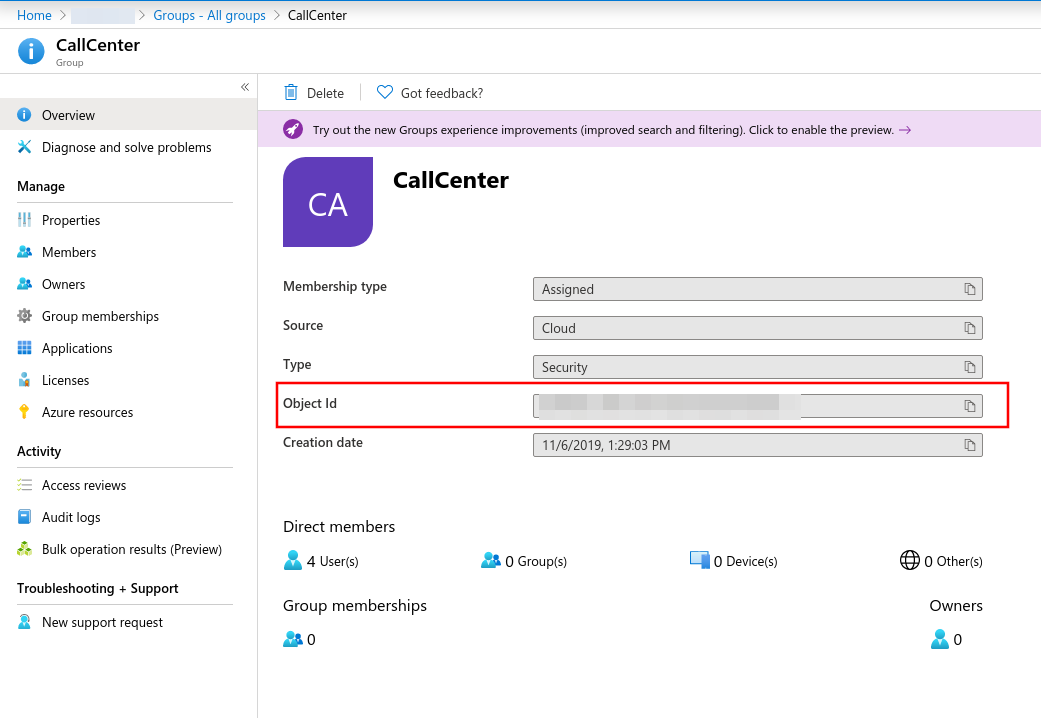
- Group identifier - allows you to import Users belonging to a group from Active Directory before their first login to the system.
b) After entering the configuration and clicking on  , the login screen will show
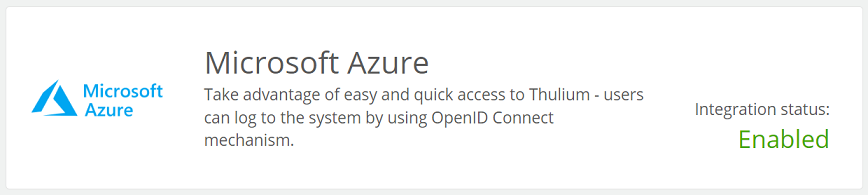
  and the integration itself will be set as enabled:
- Synchronization of Users.
Synchronization allows Users to be imported into the system prior to their first login to the system, provided a field is completed as part of the Integration configuration:
a) To start synchronization within the Administration -> Users module, the  button will appear

b) When the button is clicked, a full synchronization of Users is carried out, which means that those who did not previously exist in the system are added to the Thulium system, the data of Users who already existed is updated, while accounts that were not among the downloaded Users will be deactivated. The summary page will show the import summary report.
- Additional parameters.
- Disable local login form.
Disabling the local login form will make the fields disappear from the Thulium login page: Login and Password. Changing this setting is available in Administration → System parameters under Whether to display the login form:

Important...⚠️
Before disabling the login form, make sure that we can log into the system seamlessly with the User with the Admin role.
- Set the default role.
This setting causes that when synchronizing Users from an external source, each user will be assigned to this Role. Changing this setting is available in Administration → System parameters under the key Role to be assigned to the user after synchronisation:


Share your opinion with us