LiveSpace

Author: Łukasz Strumiński
Created: 2022-12-15. Updated: 2022-12-15.
LiveSpace is a system that allows you to effectively manage your sales processes. Among other things, you have the ability to set sales goals, determine budgets and evaluate employees. You can automatically integrate LiveSpace with popular sales platforms, as well as with any external system using API.
For more information on this solution, visit Livespace.
We will now show you step by step how to integrate Livespace with Thulium system.
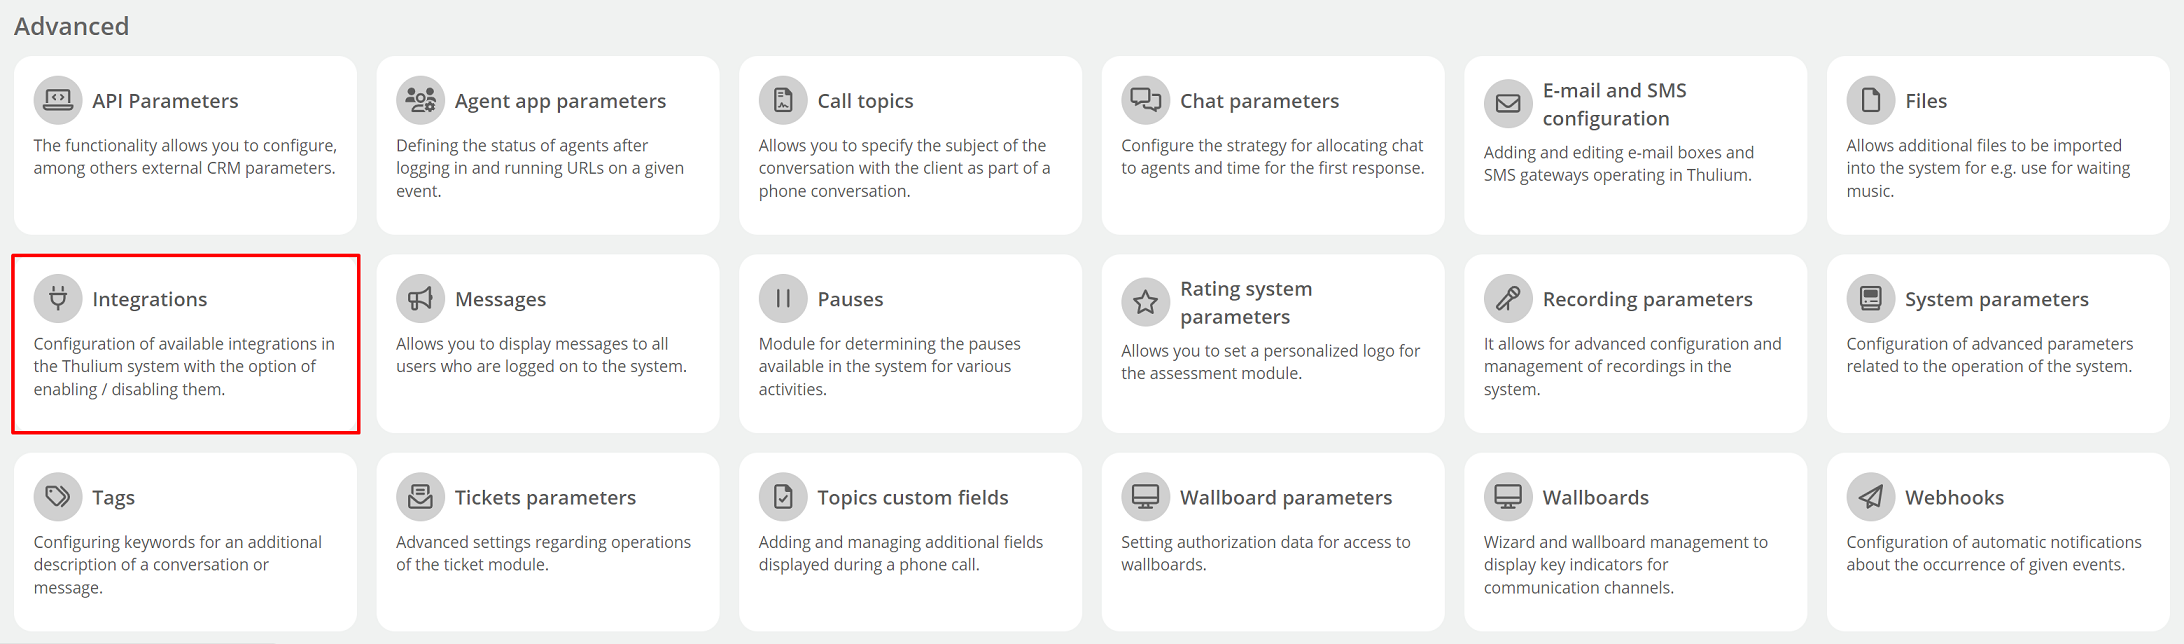
From the Administration tab, select Advanced → Integrations.
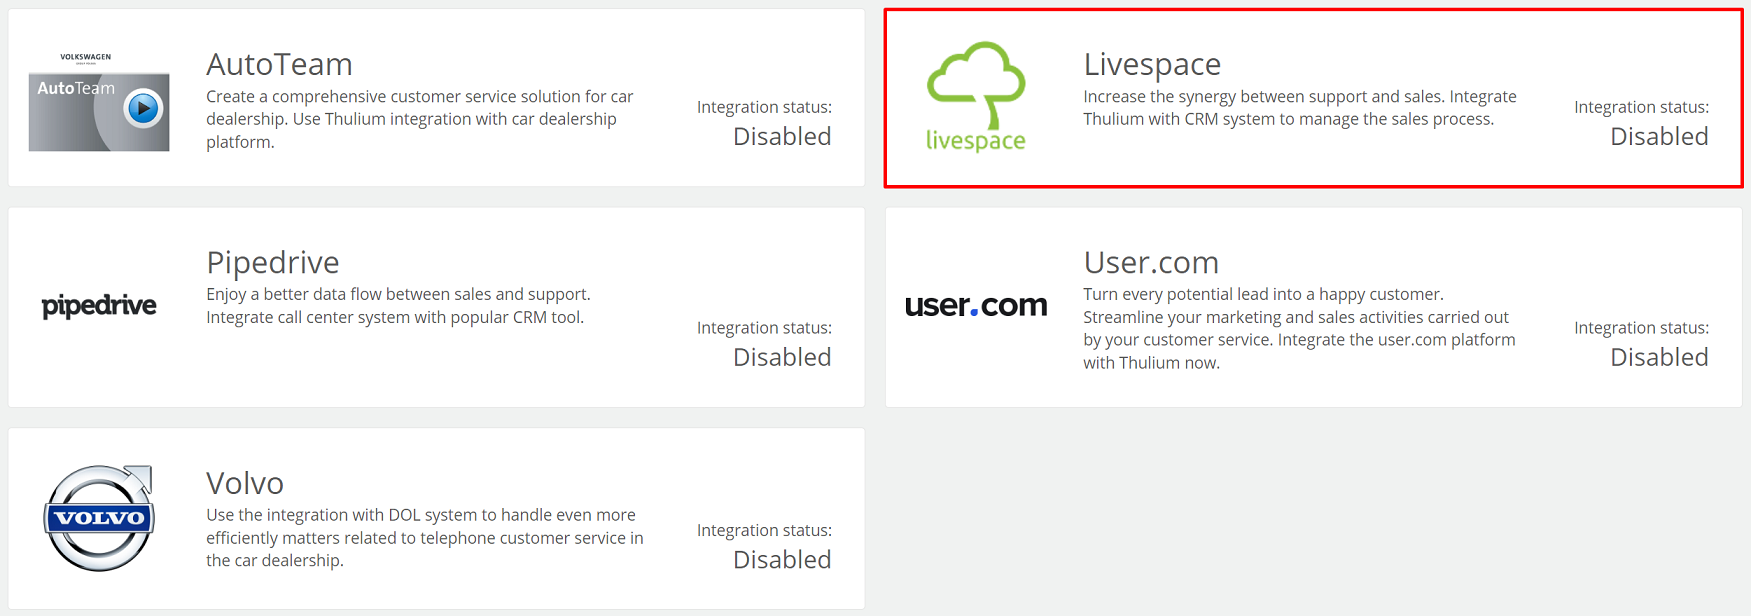
The integrations window will appear on the screen - select Livespace from the CRM section.
Then complete the following fields:
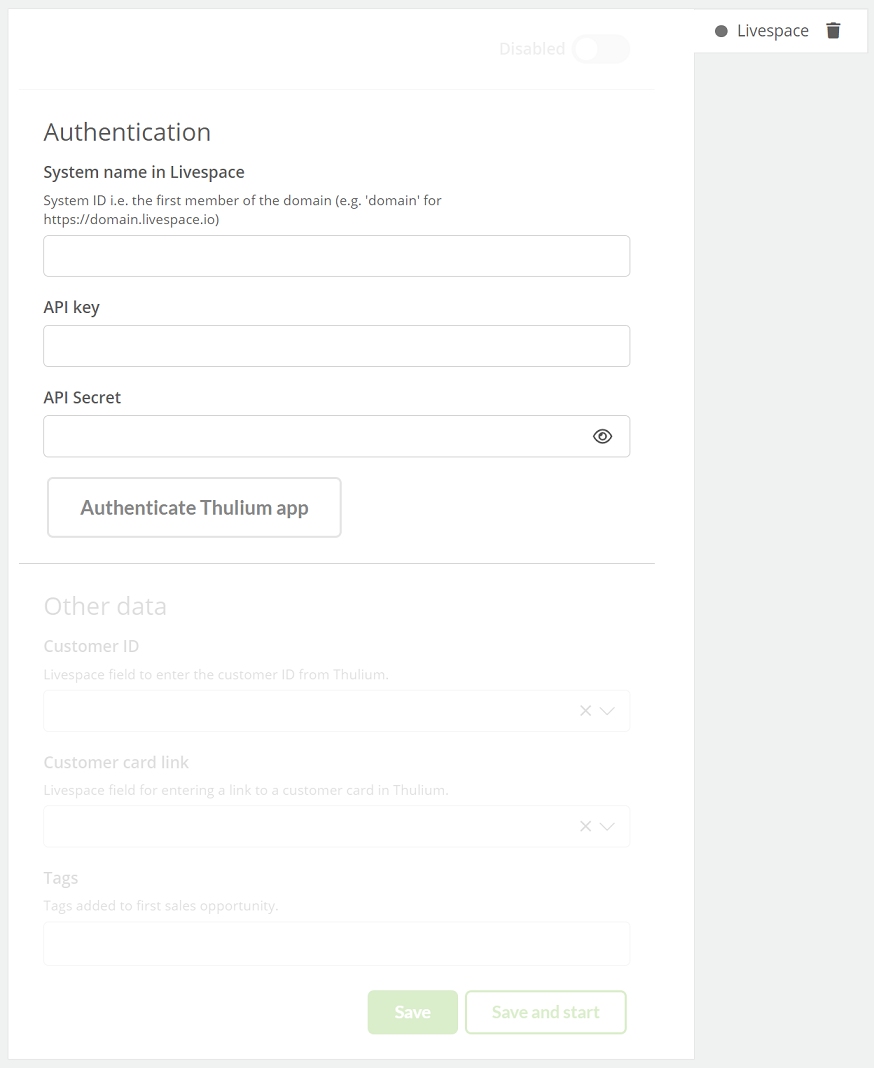
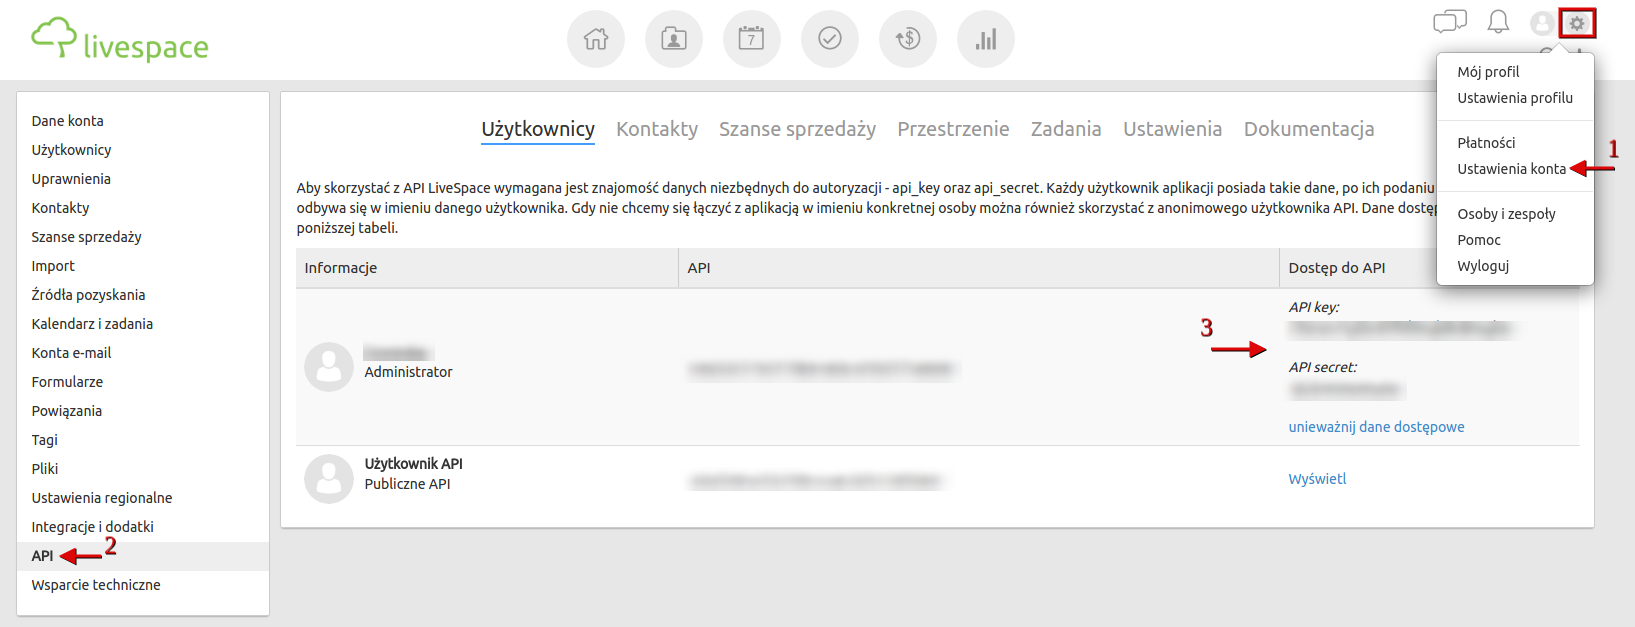
You can find your Livespace API access credentials in your user account settings under API.
After entering the authorization data in the Thulium panel, click 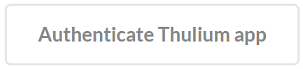 to authenticate the integration. If the authentication is successful, an appropriate message will appear on the screen:

By clicking on the  button, we can start authentication again.
Once the application has been authenticated, you will need to complete Other data.
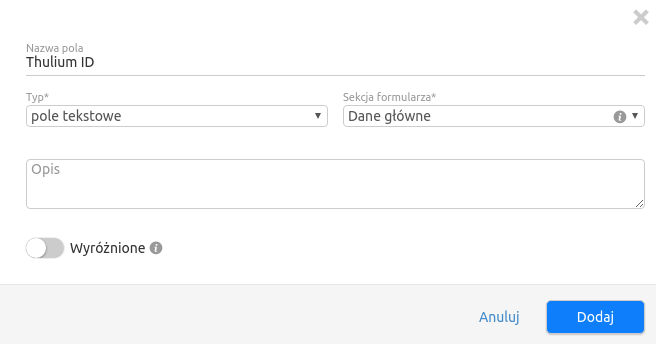
When integrating the system, you need to create additional customer fields in Livespace, which will include a link to the customer's card in Thulium and their ID.
In your user account settings, select Forms → Companies and then Add new field.
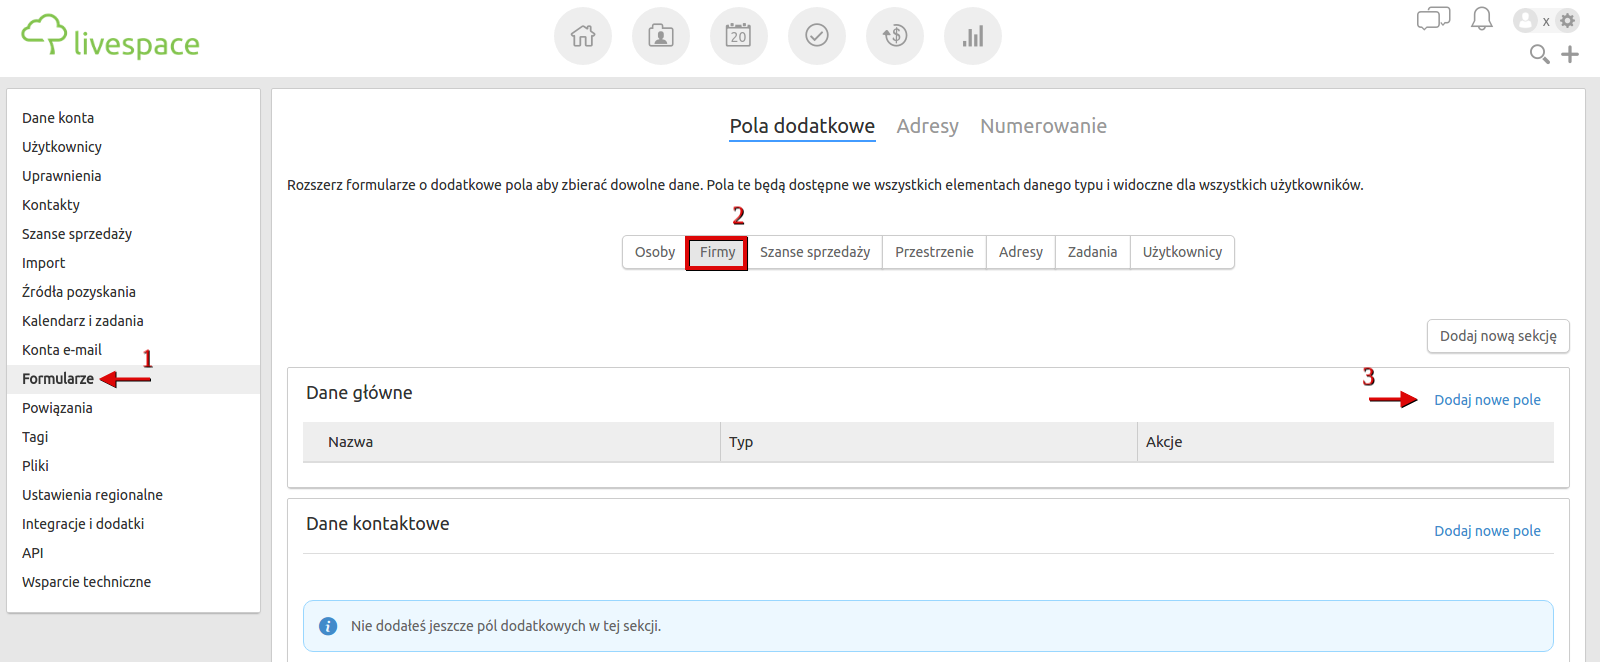
Create two text fields, e.g. named Thulium ID and Thulium Link, and decide in which part of the form they will be placed.
The created fields will appear in the list.

After entering the data, confirm the integration by clicking  or
or 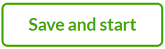 to launch it immediately.

Major assumptions of integration with LiveSpace.
- When adding a company from Thulium, the customer is automatically added to Livespace (a window appears confirming the addition of the customer).
- The ability to move with one click from a tab in Thulium to Livespace and vice versa from Livespace to Thulium.
- When adding a company from Thulium, there is an option to add the first sales opportunity in Livespace (possibility to add sales tags as well).
- An additional tab "Livespace" appears on the customer's card in Thulium, where sales opportunities downloaded from Livespace are displayed.
- When adding a company from the level of tickets, the customer is automatically added to Livespace.
How to integrate a company into LiveSpace.
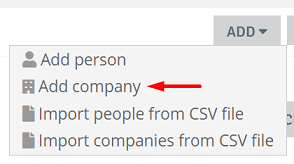
Add a company to Thulium - go to the Customers tab, expand the  button and select Add company.
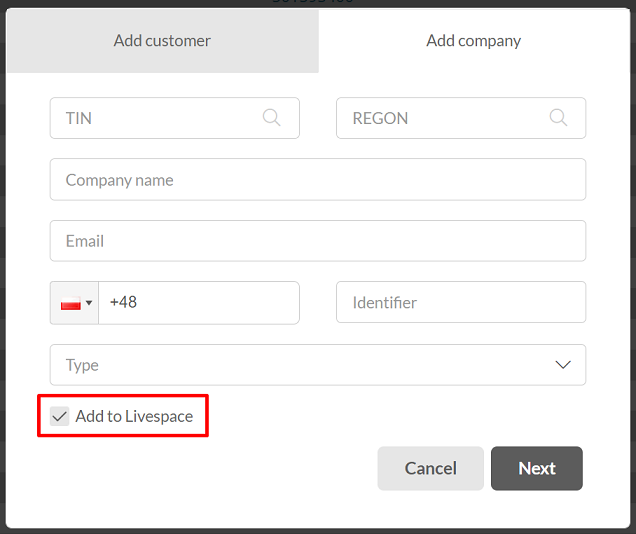
Fill in the company information (it is necessary to enter the company name, the rest of the data is optional), check the checkbox Add to Livespace and then click the  button.
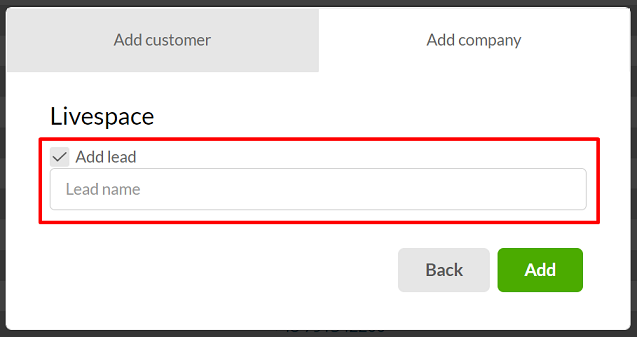
After clicking on  , the company will be automatically added, and the person who adds this customer (searched by name or email address) will be assigned as the owner.
If you select that you want to add a sales opportunity then additionally you can enter its name. You can also set what tags will be assigned to this opportunity - this is defined during integration configuration.
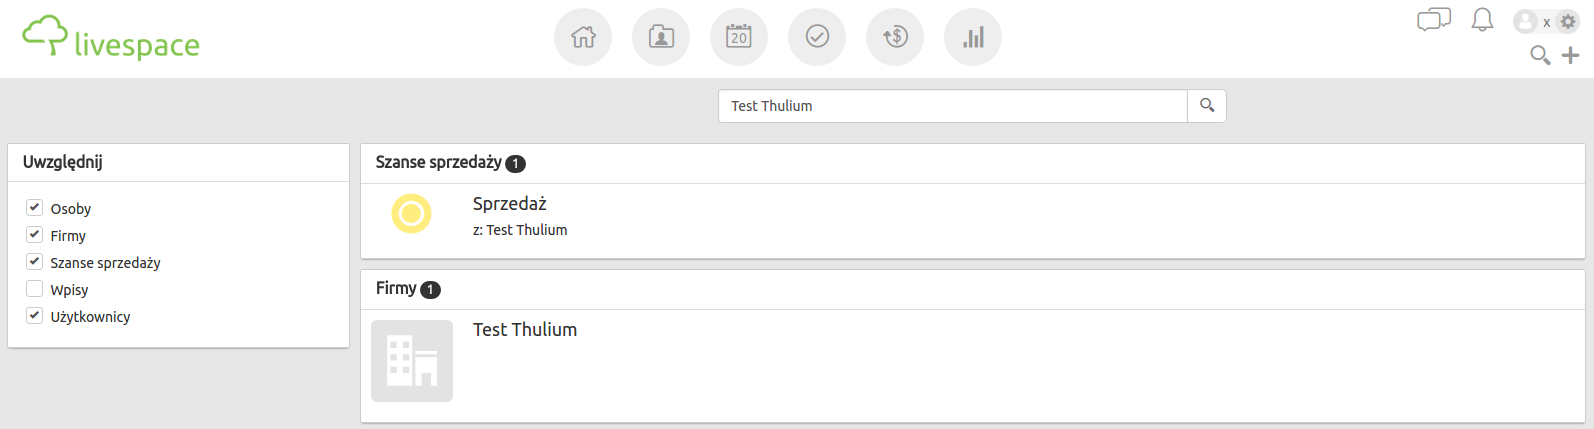
On the right side of the customer card, a new tab "LiveSpace" appears, where you can find information about sales opportunities for your company.
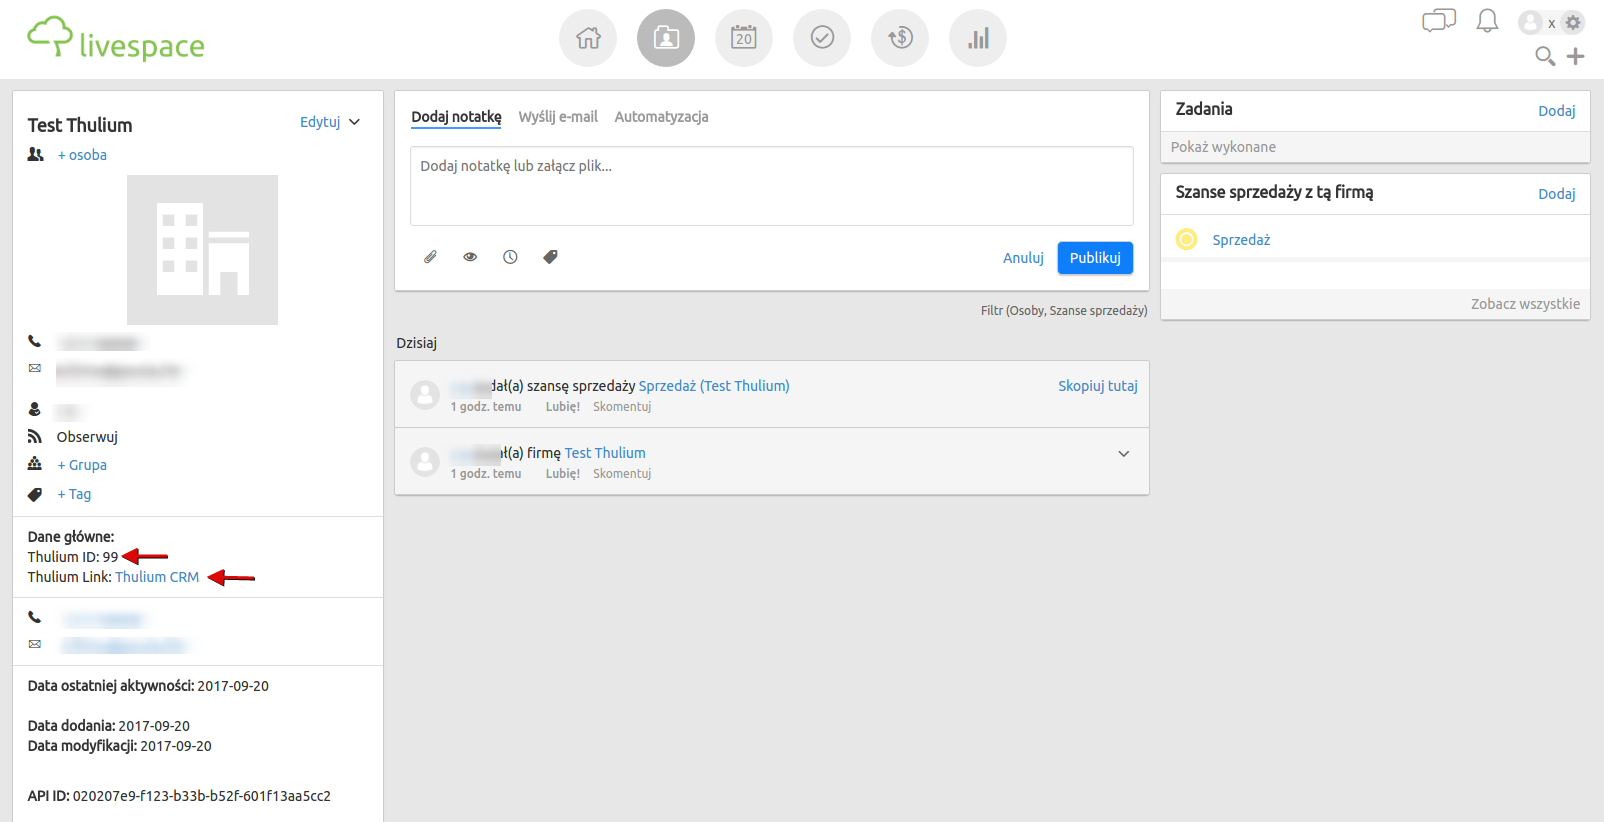
On the left side, two fields appear in the Custom fields section:
- LiveSpace Link - a link to the company in LiveSpace.
- LiveSpace ID - the customer's ID in LiveSpace.
When the link is clicked, LiveSpace opens with the search phrase entered as the company name.
By accessing the customer's profile in LiveSpace, we can manage the contact, among other things, add more sales opportunities or post a short note about the customer. In the Main Data section, the ID and link to the customer's card in Thulium appears.

Share your opinion with us