JIRA
JIRA is a system provided by Atlassian that supports project management. It is mainly used in IT companies to plan, track and implement software. You can find more information about this solution here.
We will now show you step-by-step how to integrate JIRA into our system.
From the Administration tab, select Advanced → Integrations.

The integrations window will appear on the screen - select JIRA from the Management section.

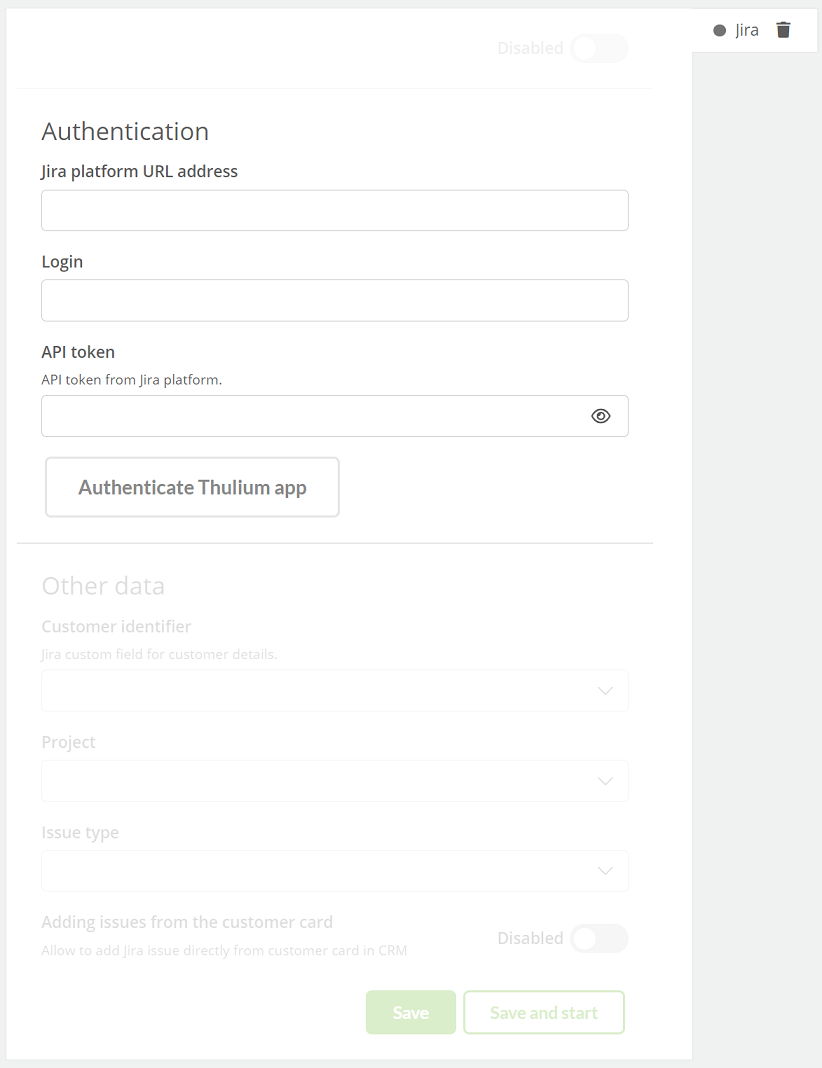
Complete the following fields:

Important...⚠️
The user created for the API must have the language configured as English.
After entering authorization data in the Thulium panel, click  to authenticate the integration.
If the authentication is successful, an appropriate message will appear on the screen:

By clicking on the  button, we can start re-authentication.
Did you know...💡
The API token should be generated under Settings → Atlassian Account Settings → Security → API Token → Create API Token.
Once the application has been authenticated, complete Other data.
Hint...🔍
It is best to create yourself a separate custom field, where you will put information about the customer, for example, the name of his company.
After completing the data, click the button  or
or  to launch it right away.
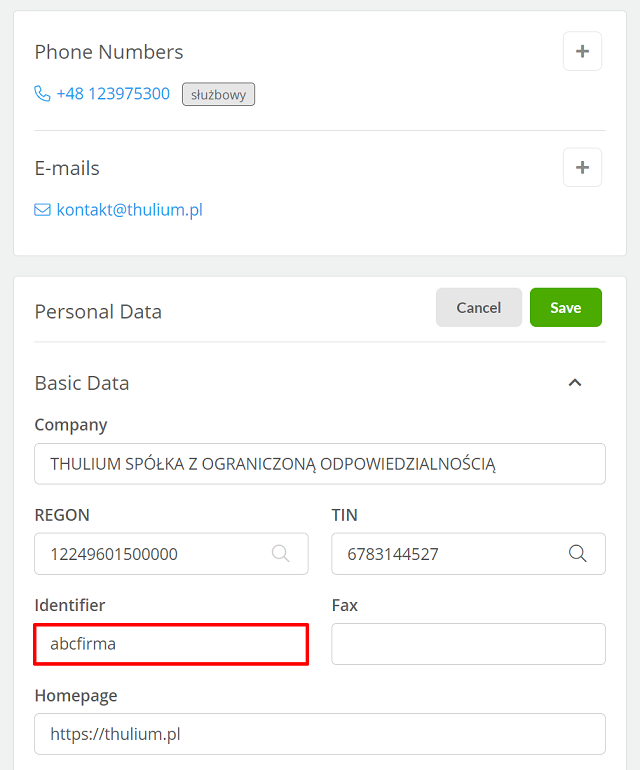
Synchronization of clients in Thulium and JIRA follows the Identifier field, where you can enter the client's company name, for example:

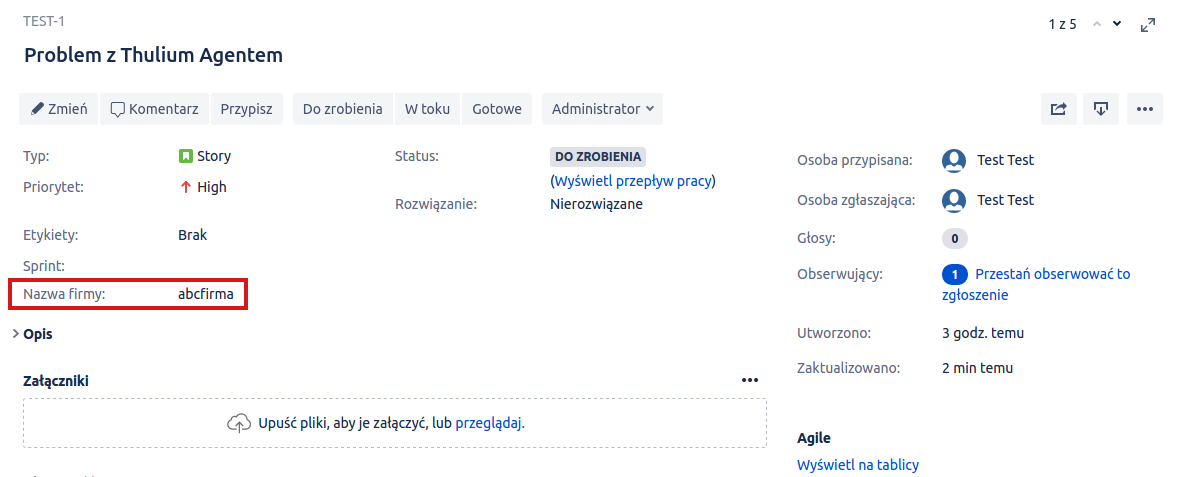
The same name should also be entered in JIRA when creating a request in the special field created (in our case Company Name):

A new tab named "JIRA" will appear on the customer's tab, which contains all the information about the problem reported by the customer such as: the Id of the request, the name of the request, the date of opening, the status of the request and information about the assigned person.

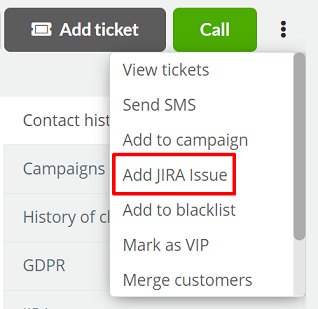
If the Add issues option is activated, such a request can be added from the Web Softphone or the Customer tab:


Share your opinion with us