DreamRobot

Author: Łukasz Strumiński
Created: 2022-12-13. Updated: 2022-12-13.
DreamRobot is a system for e-commerce that offers you all the functions you need (managing marketplace, online store, goods, etc.) in one interface. Gain more time, increase turnover and have a better overview of your business!
For more information on this solution, visit DreamRobot.
Scope of integration
- Automatic addition of DreamRobot customer to Thulium,
- Additional DreamRobot tab on the customer's tab in Thulium, where customer orders are displayed,
- Quick preview of customer orders within email contact, chat or during a phone call.
Step by step
We will show you step by step how to integrate Thulium into your DreamRobot system.
Important...⚠️
You need to create a suitable custom field of the numeric type for integration with DreamRobot beforehand.
From the Administration tab, select Advanced → Integrations.
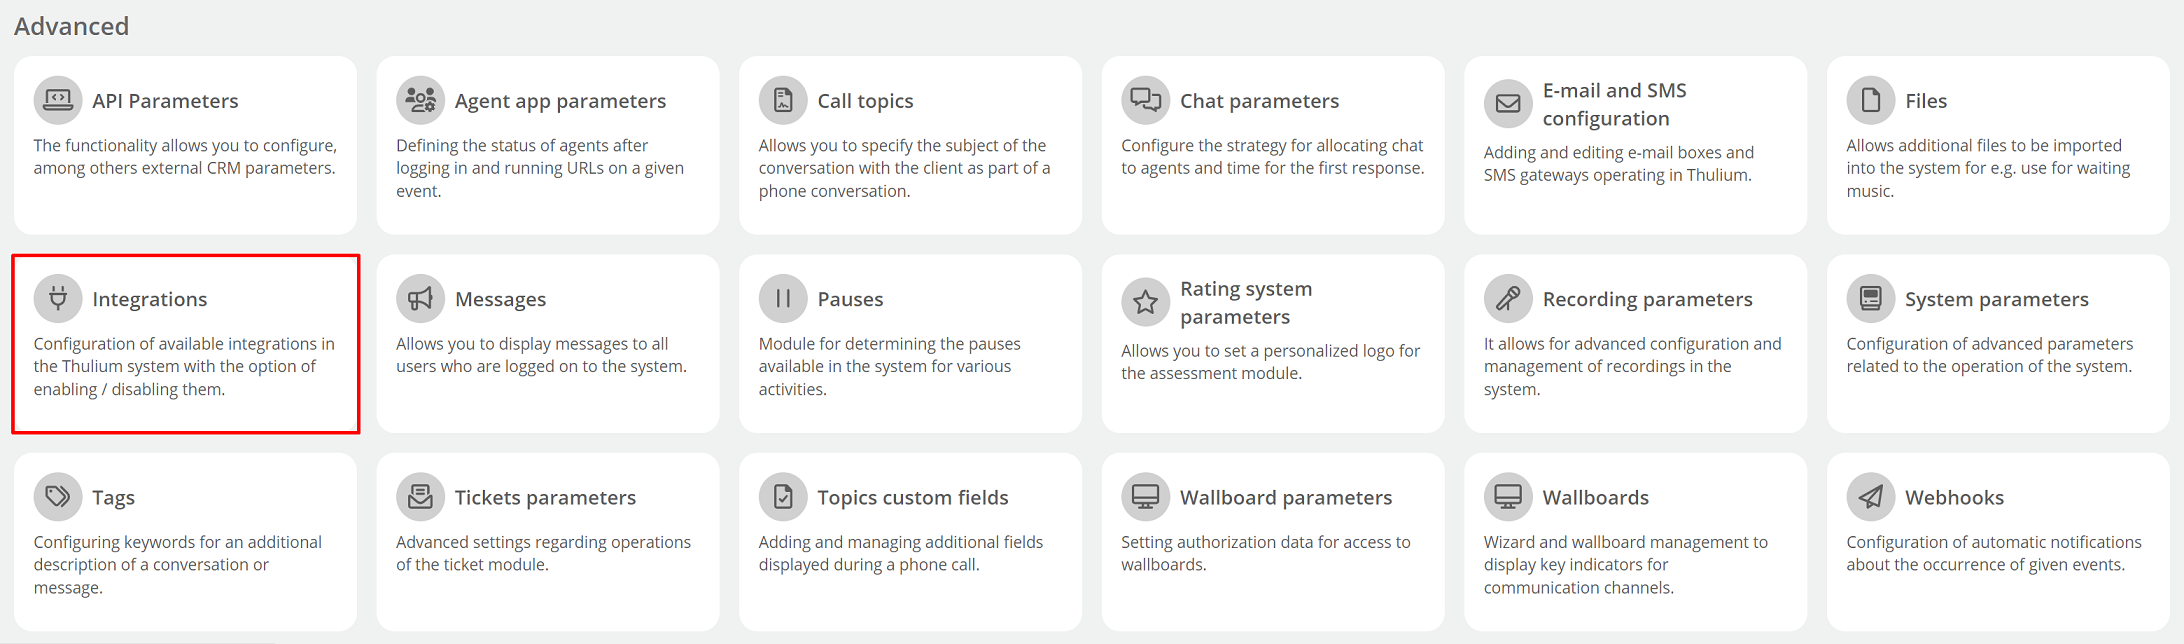
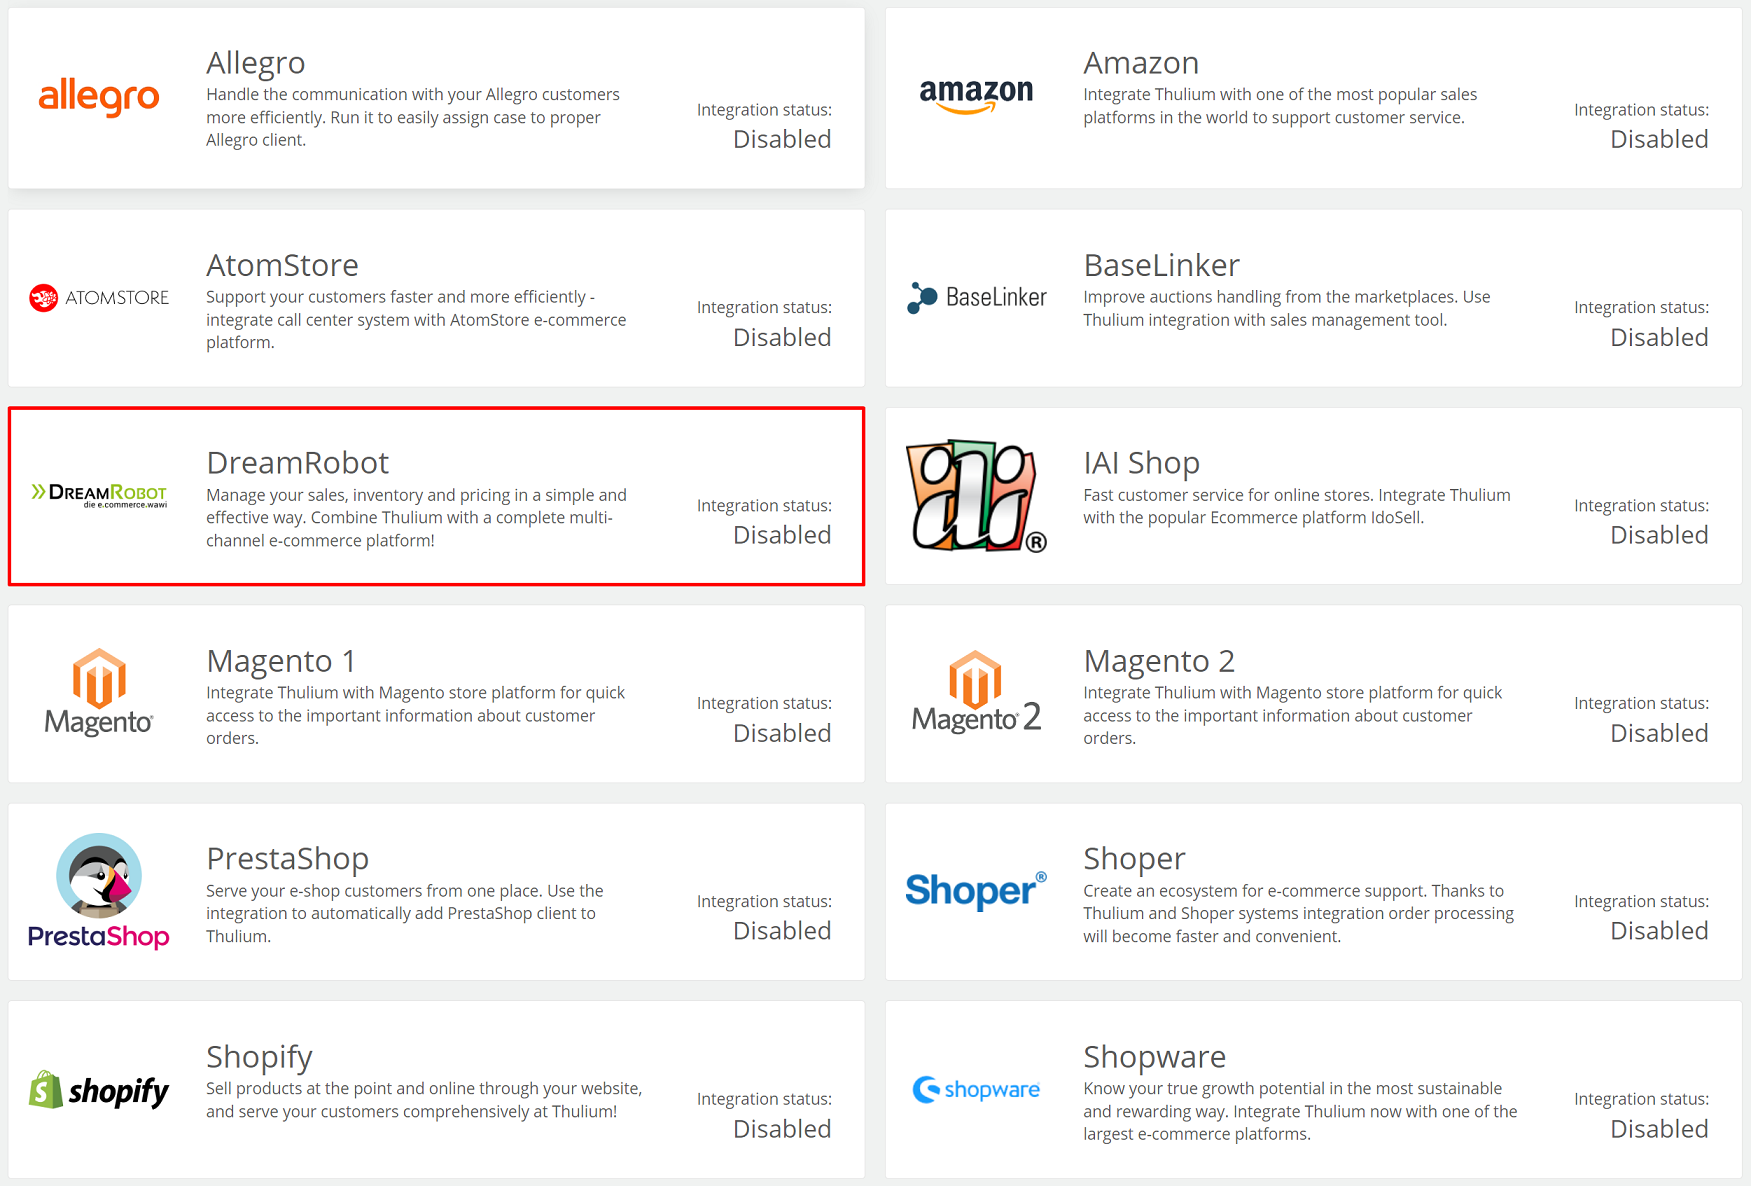
A window with available integrations will appear on the screen - select DreamRobot from the E-commerce section.
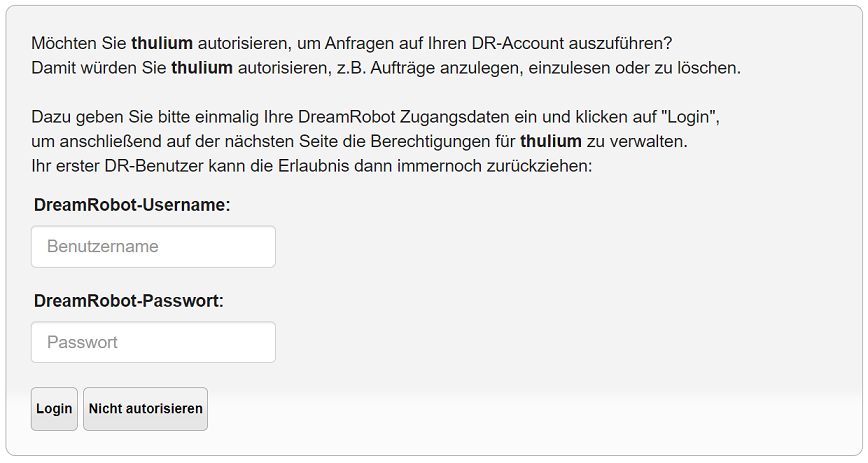
Then authenticate the application by clicking the  button:
We log into the DreamRobot platform to validate our credentials.
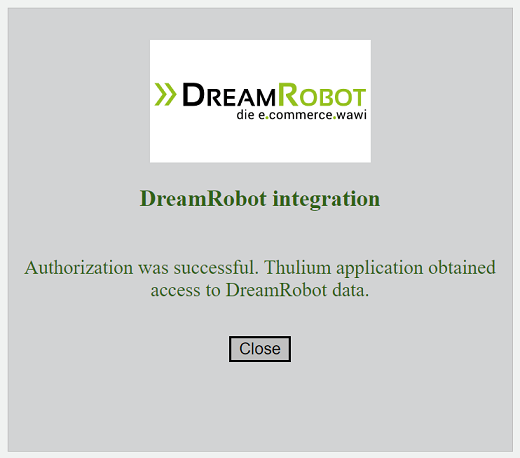
After successful authentication, a corresponding message will appear:

By clicking on the  button, we can start re-authentication.
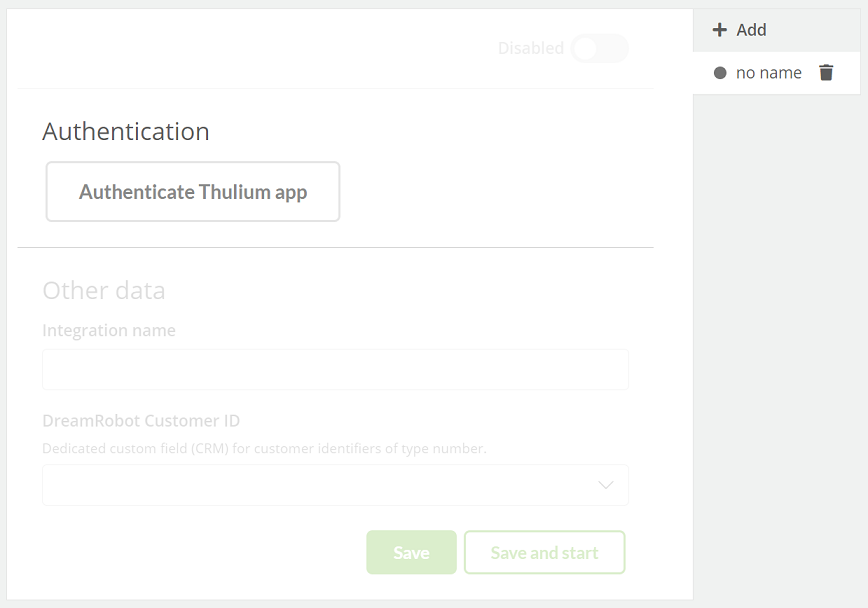
We fill in such data as:
- Integration name - the custom name of the configured integration,
- DreamRobot Customer ID - a custom field that will store the DreamRobot customer ID.
If the other data have been entered within the integration configuration in the Thulium panel, such integration can be saved by clicking  or saved and run
 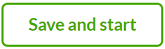 at the same time.
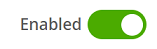
In the case of saving alone, the DreamRobot integration must then be launched:
To launch another integration with the same E-commerce platform, click 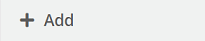 and re-enter the relevant authorization and configuration data.
How to integrate a customer.
For the first synchronization of the customer database in DreamRobot and Thulium, click the  button located in the Customers tab at the top right of the page in the Add section. Subsequent synchronization of new customers (new orders) is done automatically (every half hour) and there is no need to use this button.

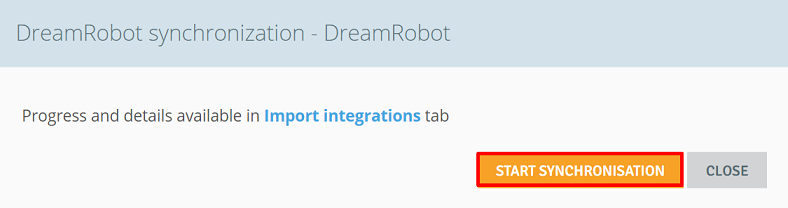
After clicking the button, a window will appear to confirm the synchronization.
See what the integrated customer card looks like:

A new "DreamRobot" tab appears on the right side, where you can find basic information about the orders of a given customer.
In addition, orders are available within the Contact History in the ORDERS section:
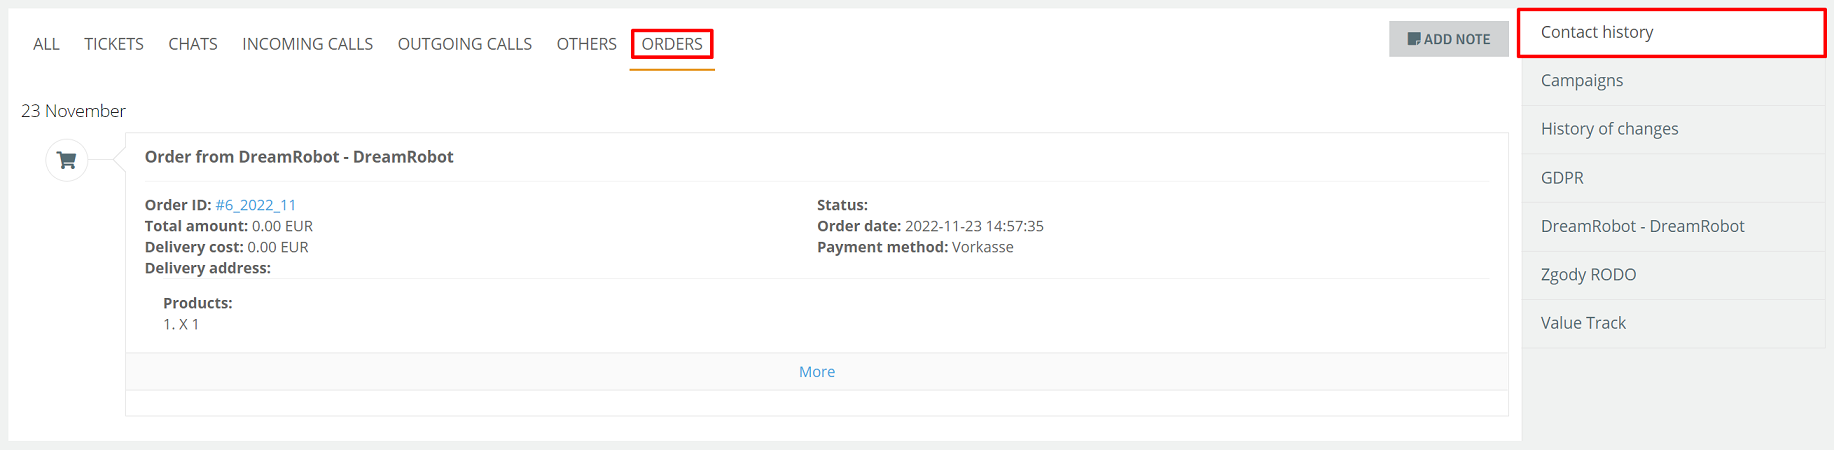
After clicking on the order ID, we are directed to our DreamRobot platform.

Share your opinion with us