Chatbot

Author: Łukasz Strumiński
Created: 2023-01-24. Updated: 2025-09-24.
Chatbot allows you to conduct a conversation with your customer so as to relieve the Customer Service of simple, repetitive questions. Additionally, it can provide service. Below, we will outline the process of adding a chatbot to your widget.
Shortcuts
- Answering simple questions from Customers by Chatbot based on prepared instructions,
- Answering after-hours questions by Chatbot according to prepared instructions.
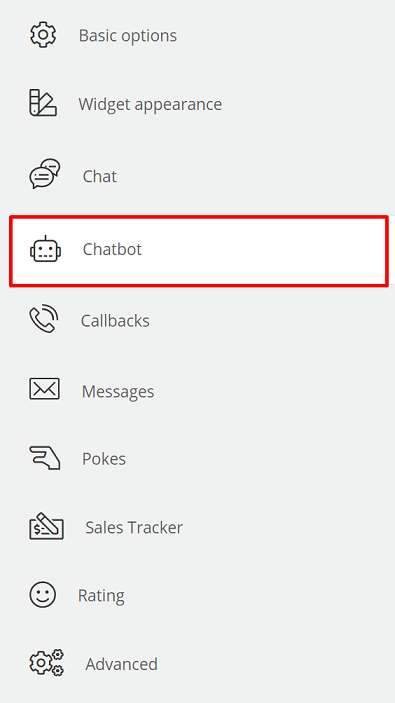
- To add a Chatbot, use Administration → Click2Contact section → Chatbot:

- Next, we click the
 key and enter the name of our Bot and set an avatar for it:

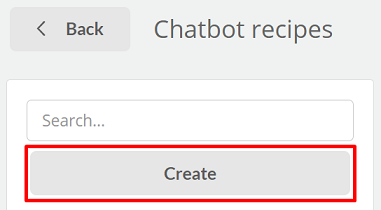
- Next, click on
 and
and  to set the corresponding actions executed by the Chatbot:

- A window will appear within which you should:
- enter the name of the interaction,
- define a trigger for it,
- define the action performed by the Chatbot.
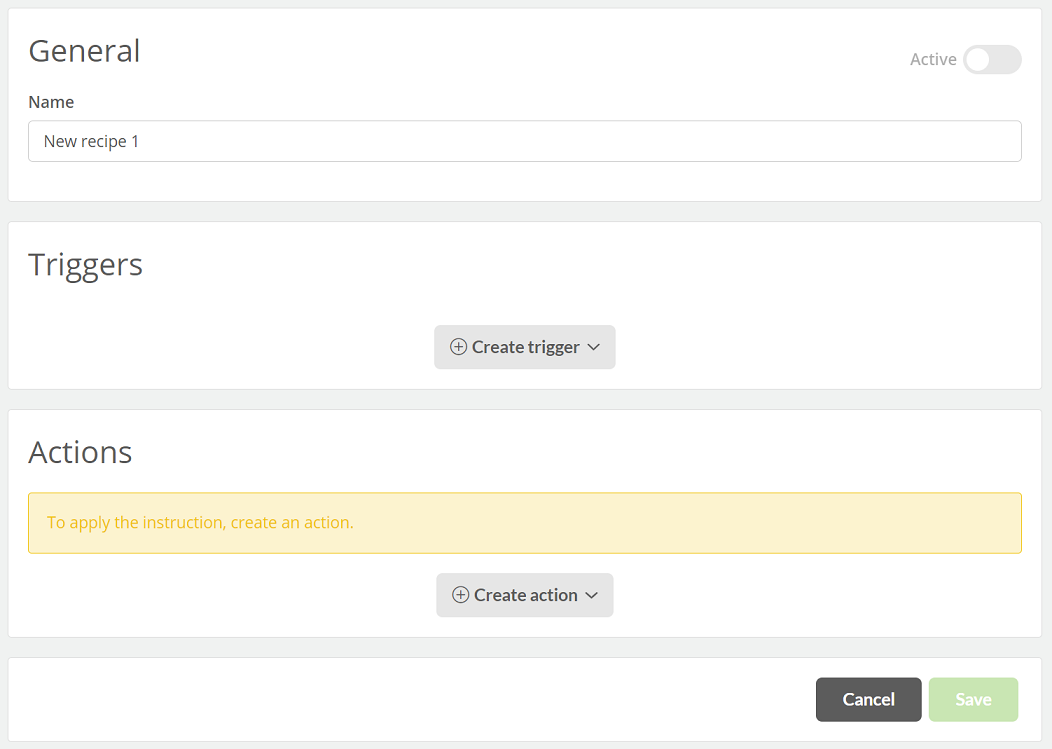
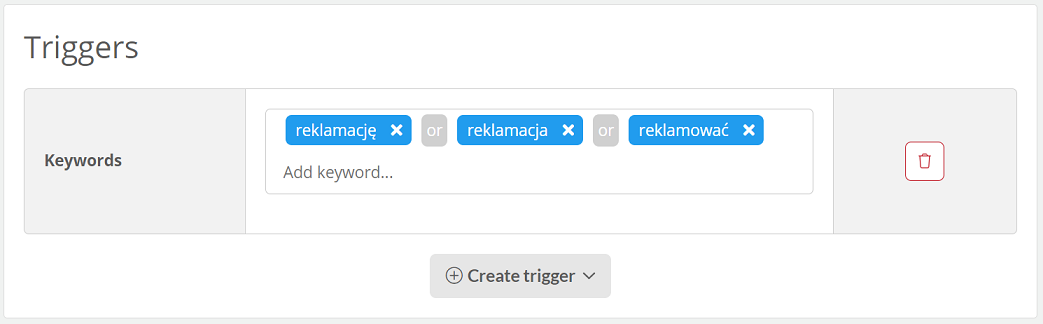
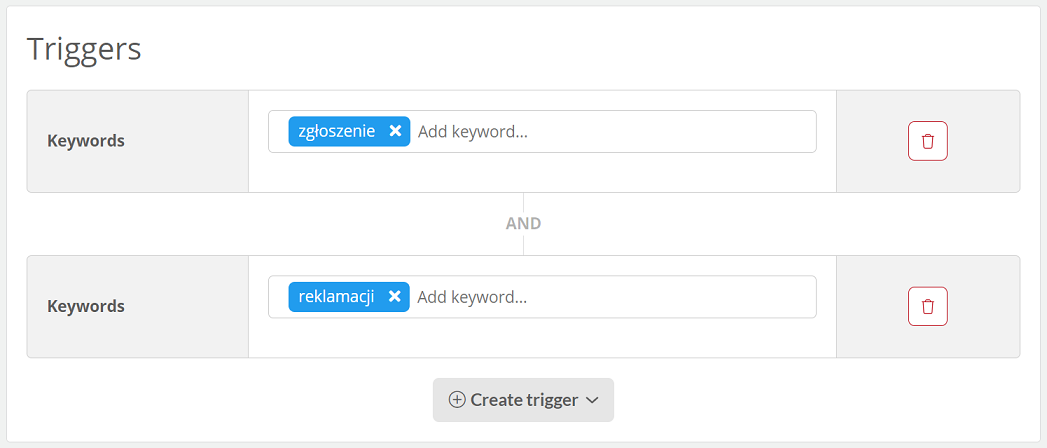
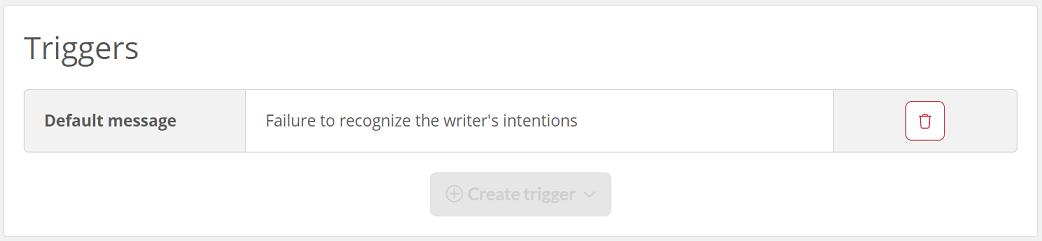
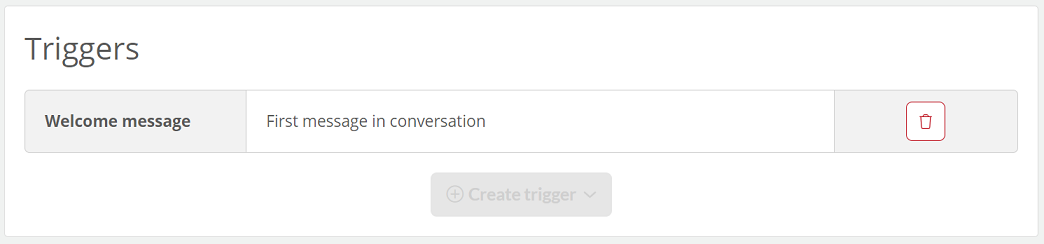
- Within the Chatbot, we can choose one of the triggers:
- Keywords - we specify what words in the message from the customer should trigger the action.
- Default message - will be triggered in the absence of recognition of the writer's intention.
- Welcome message - the first message after initiating chat with the Bot.
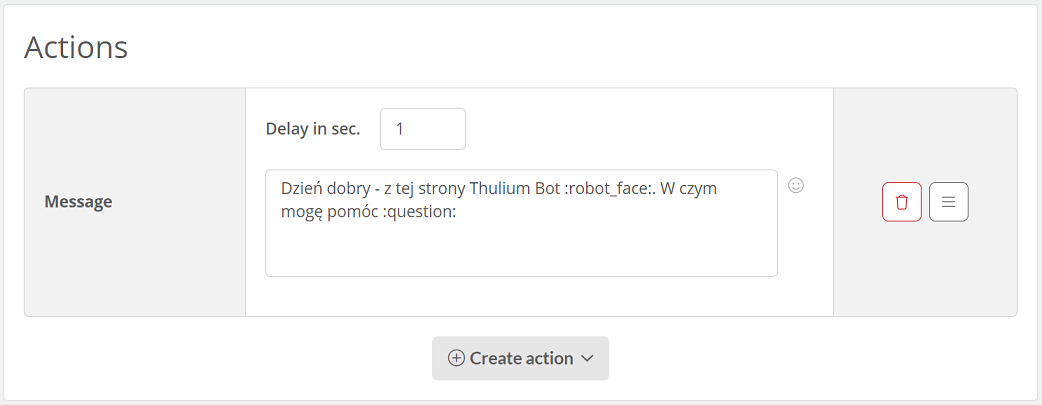
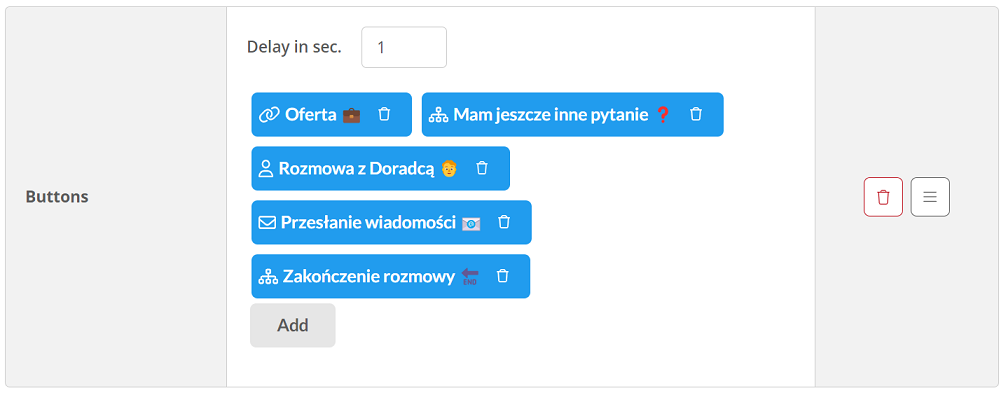
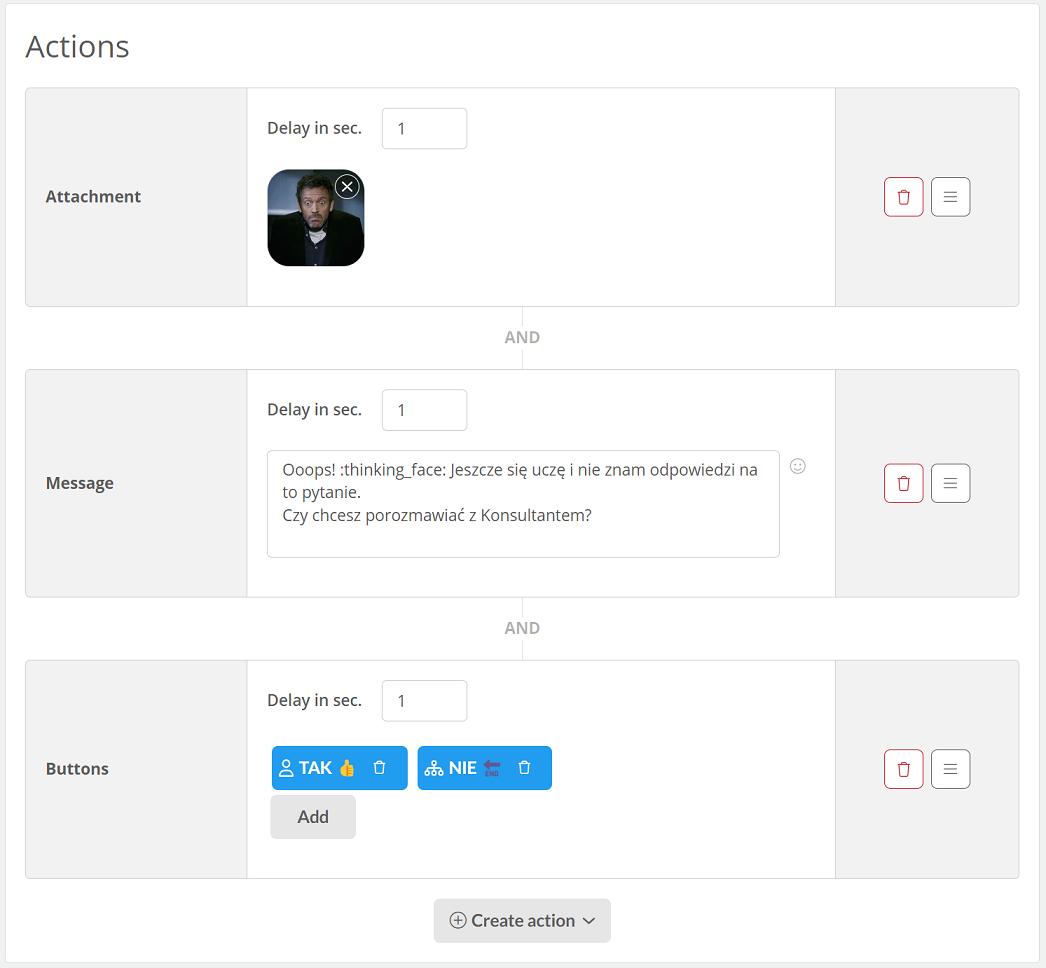
6 Within the action, we can choose from the following:
- Message - the ability to enter a message to the customer.
- Buttons - we can specify the name of the button and the action that will be initiated when it is clicked:
- Talk with agent - to bookmark the chat and offer it to a free Agent,
- Open URL address - possibility to enter the address to which the button should direct,
- Trigger action in selected recipe - attaching the button to a predefined recipe,
- Open callback form - launches callback module from widget,
- Open ticket form - opens the ticket form module within the widget.
Did you know...💡
For the Open URL address action on mobile devices, the widget window will minimize by default when you click on such a button. With Open link in new tab checked, the widget window will not be retracted.
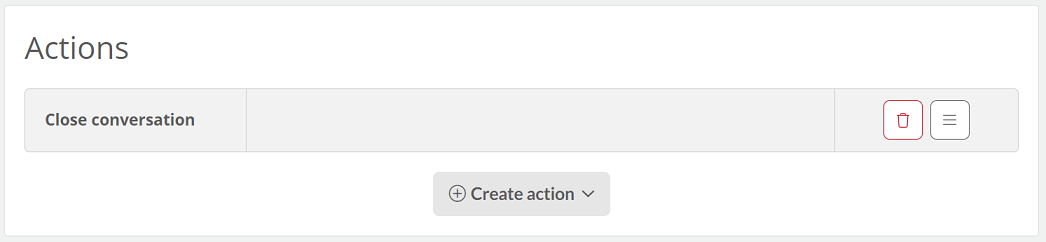
- Close conversation - ends the chat conversation.
- Attachment - displays an image or allows you to download a file.
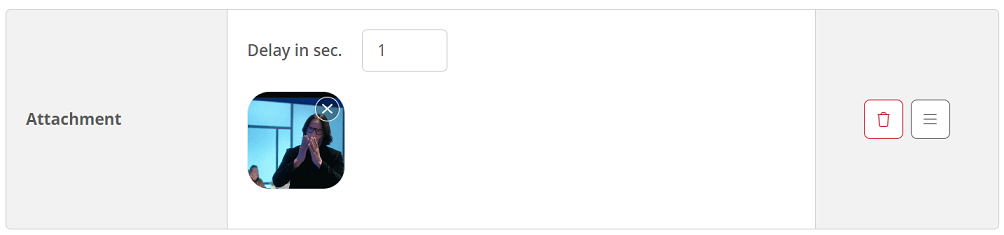
Important...⚠️
In order to display attachments/pictures when chatting with Chatbot, you need to enable file uploads under Chat Parameters.
- Add tags - adds a tag as part of an ongoing conversation with the Bot.

- Reading the last order - based on e-commerce integration and email address, the status of the last order is checked.


A mixed configuration of actions is possible:
-
After adding instructions, activate them by clicking
 so that the
  light lights up next to the instruction name.
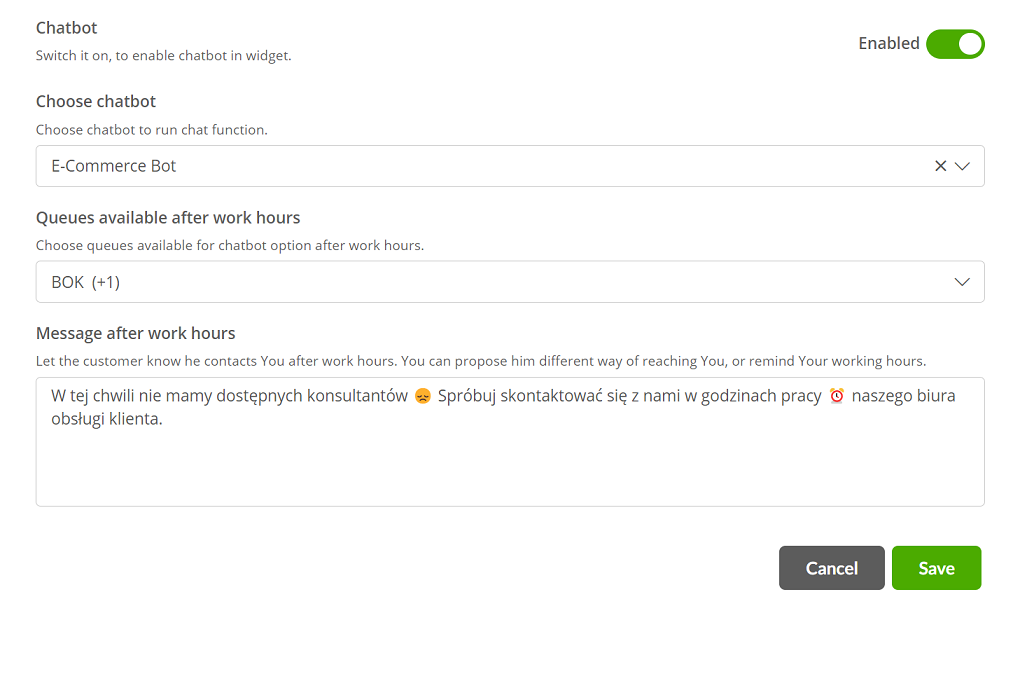
 - After preparing the scenarios, edit the settings of our widget:
- You need to select the given Chatbot for a particular widget, turn it on (alternatively select the after-hours option by selecting the queue data), set the message when there is no Agent after hours and confirm with the key
 :
:
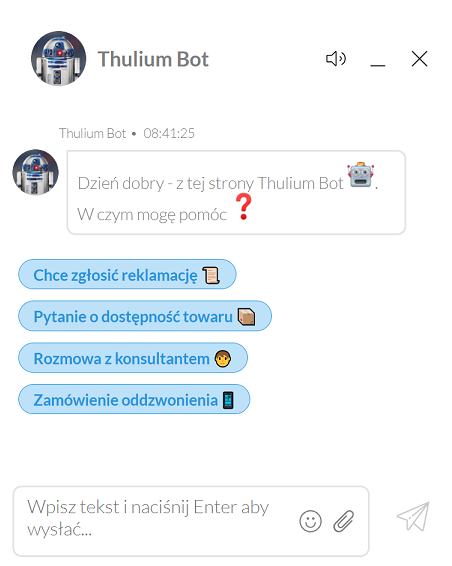
- Once the Chatbot is initiated by the customer, it will automatically be assigned to the chat:

Share your opinion with us